This store requires javascript to be enabled for some features to work correctly.
Lookbook
Catalog
Rings
Necklaces
Earrings
Bracelets
Accessories
About
Contact
Lookbook
Catalog
Rings
Necklaces
Earrings
Bracelets
Accessories
About
Contact
Lookbook
Catalog
⌄
Rings
Necklaces
Earrings
Bracelets
Accessories
About
Contact
Lookbook
Catalog
Rings
Necklaces
Earrings
Bracelets
Accessories
About
Contact
0
Navigation
0
Cart
Products
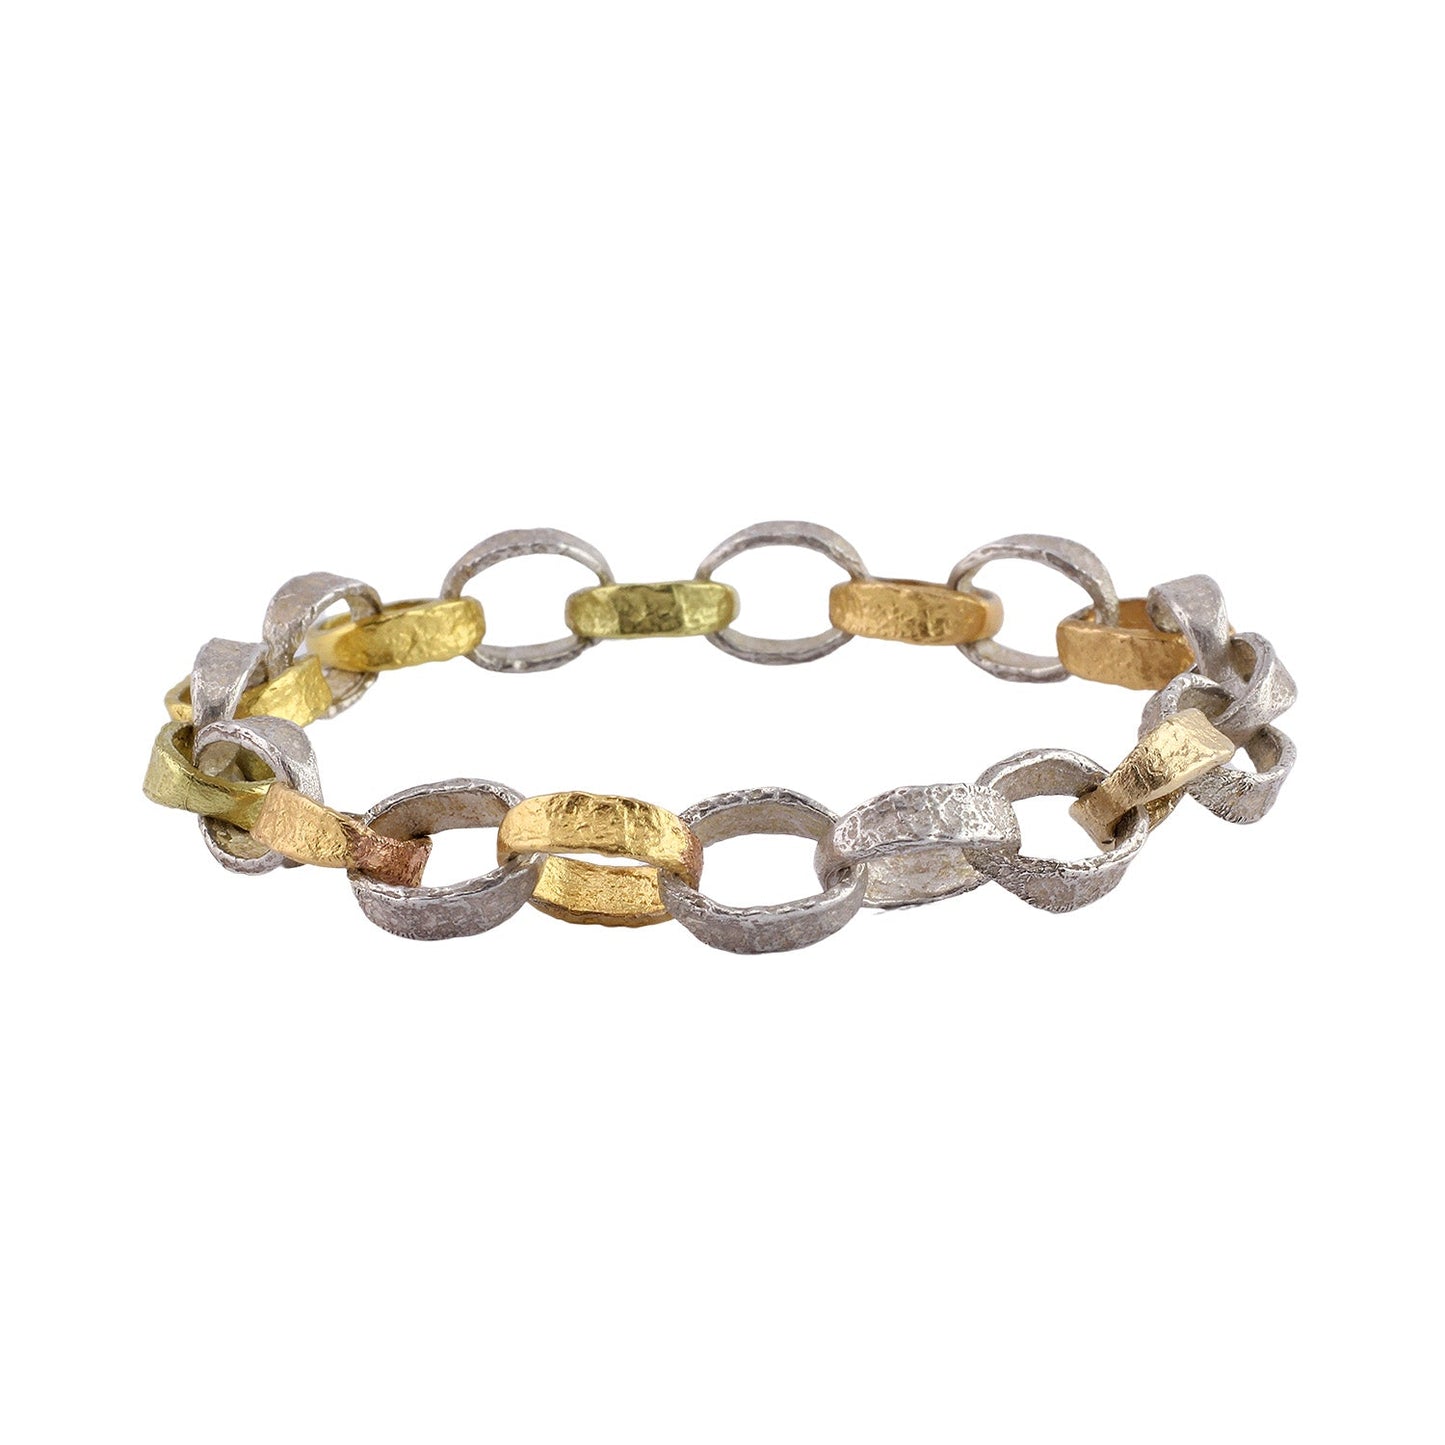
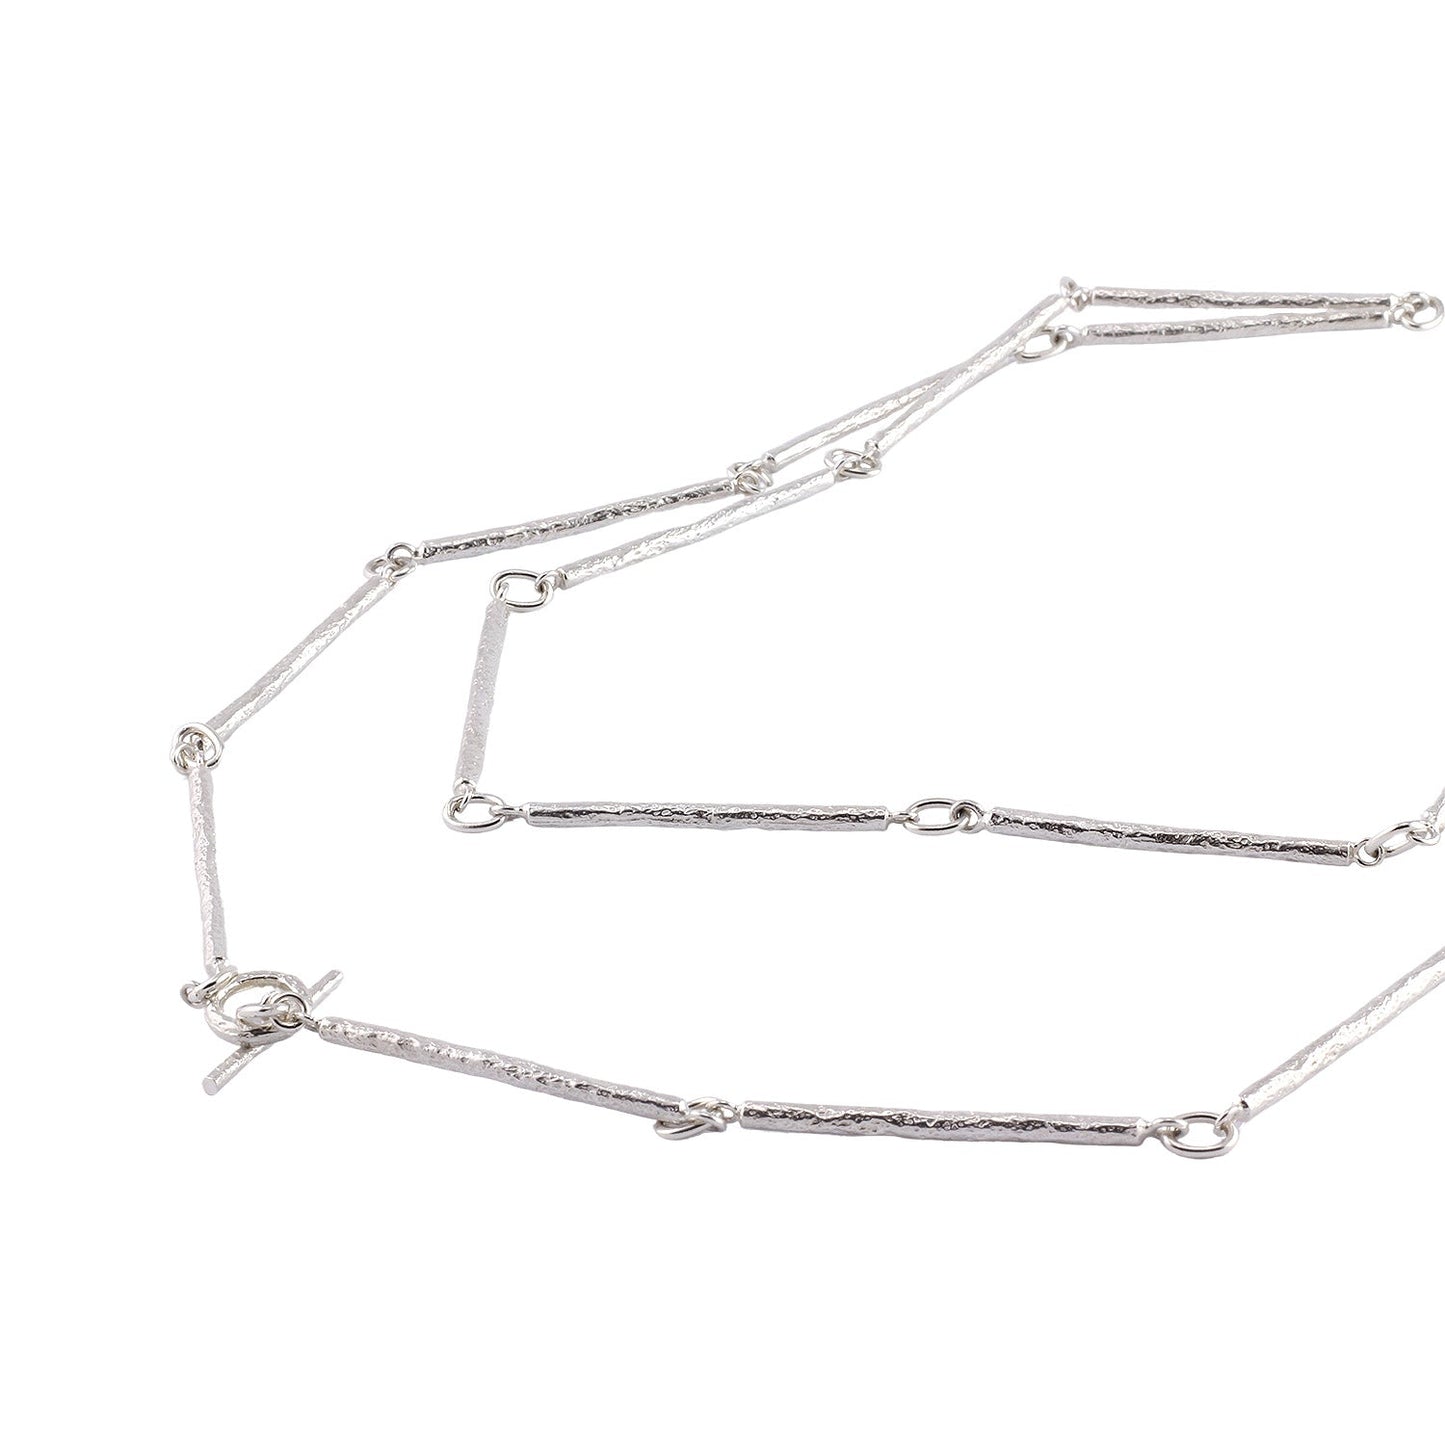
22 Link Betsy Bracelet
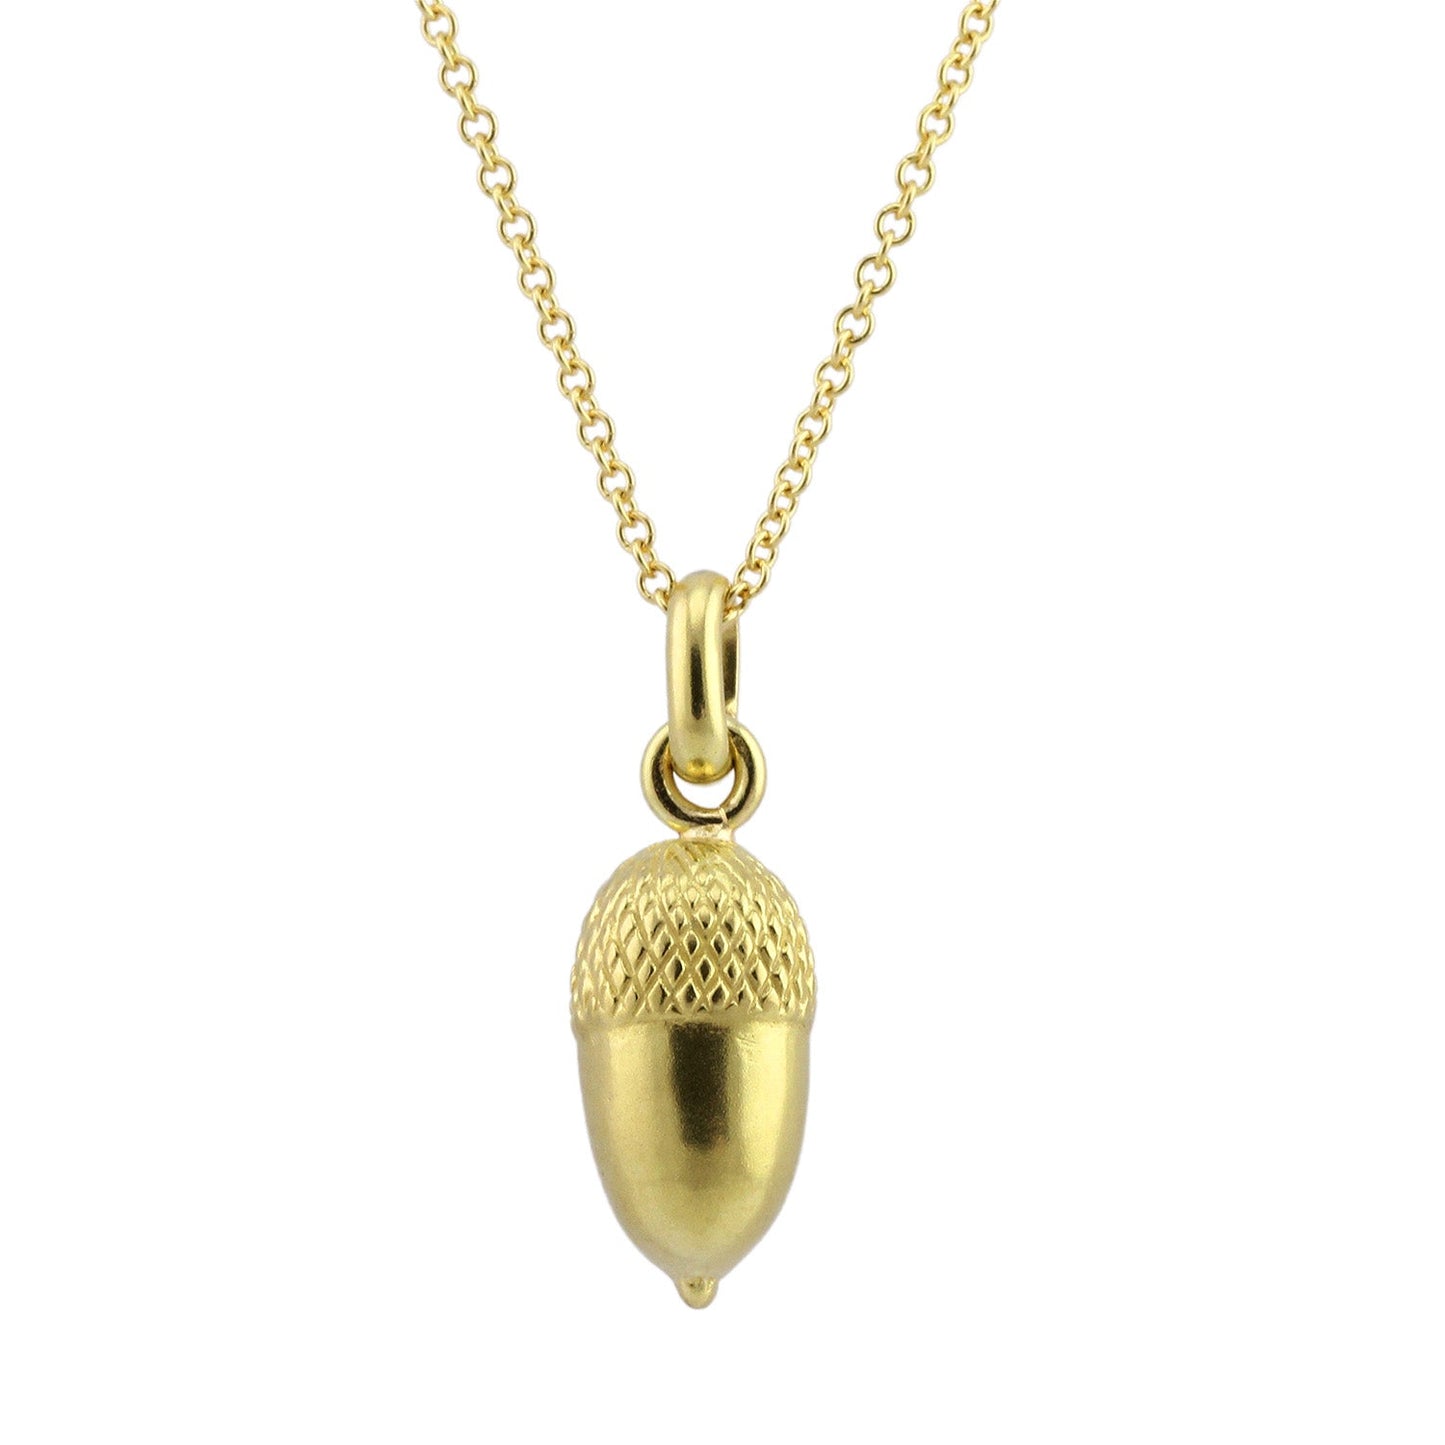
Acorn Charm - Large
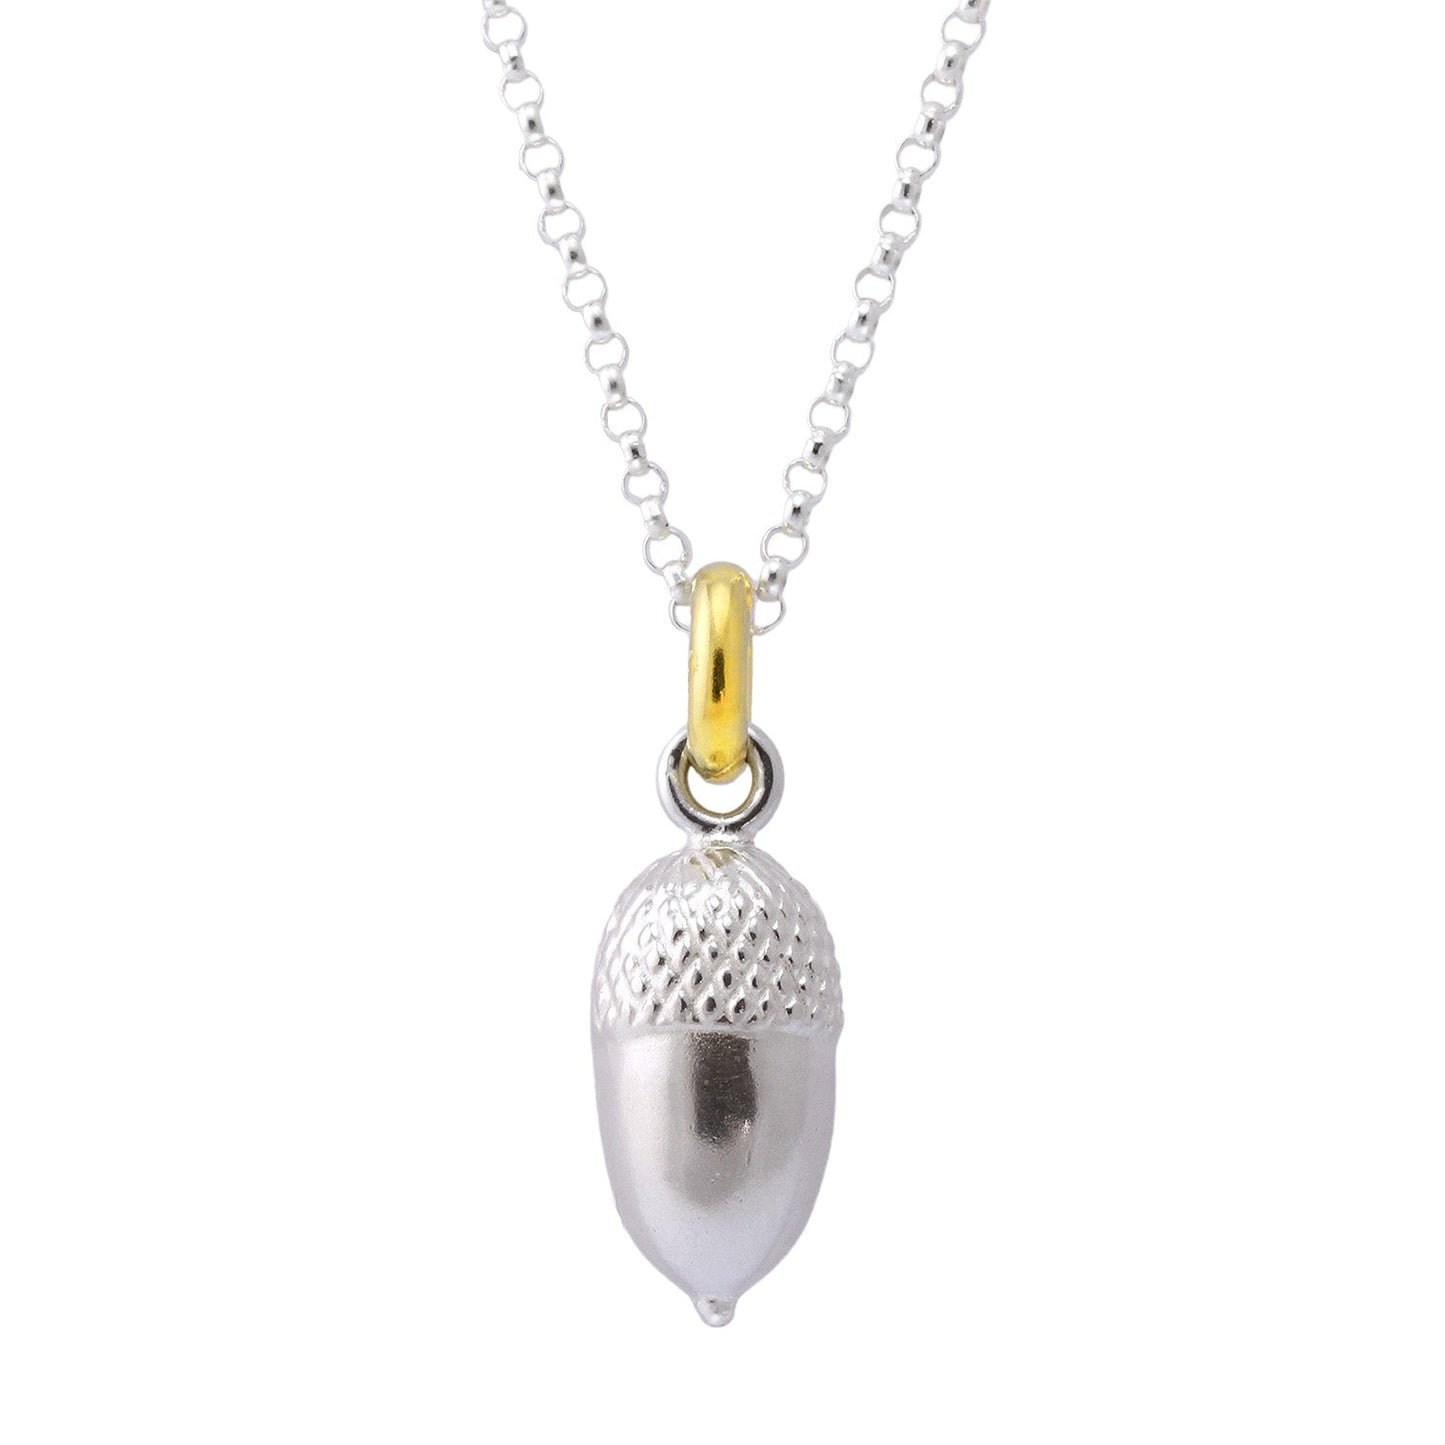
Acorn Pendant - Large
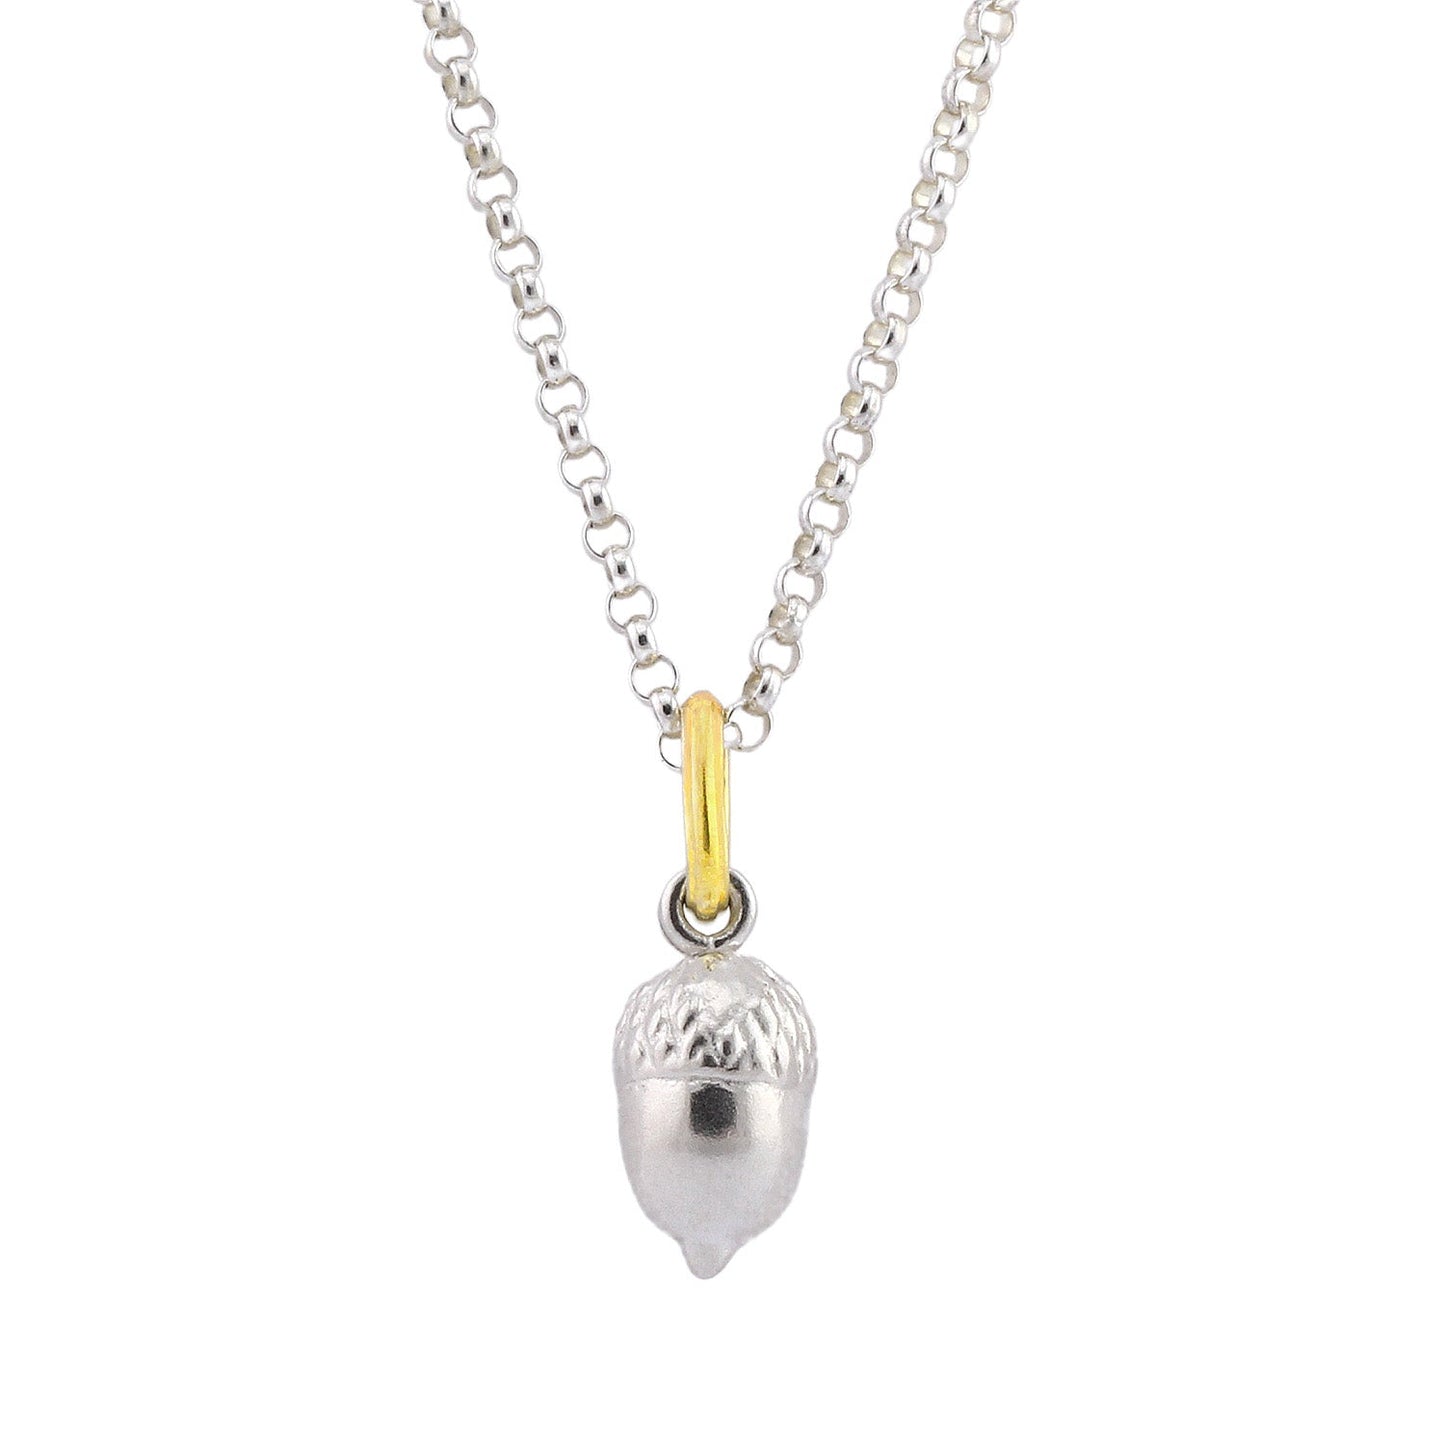
Acorn Pendant - Small
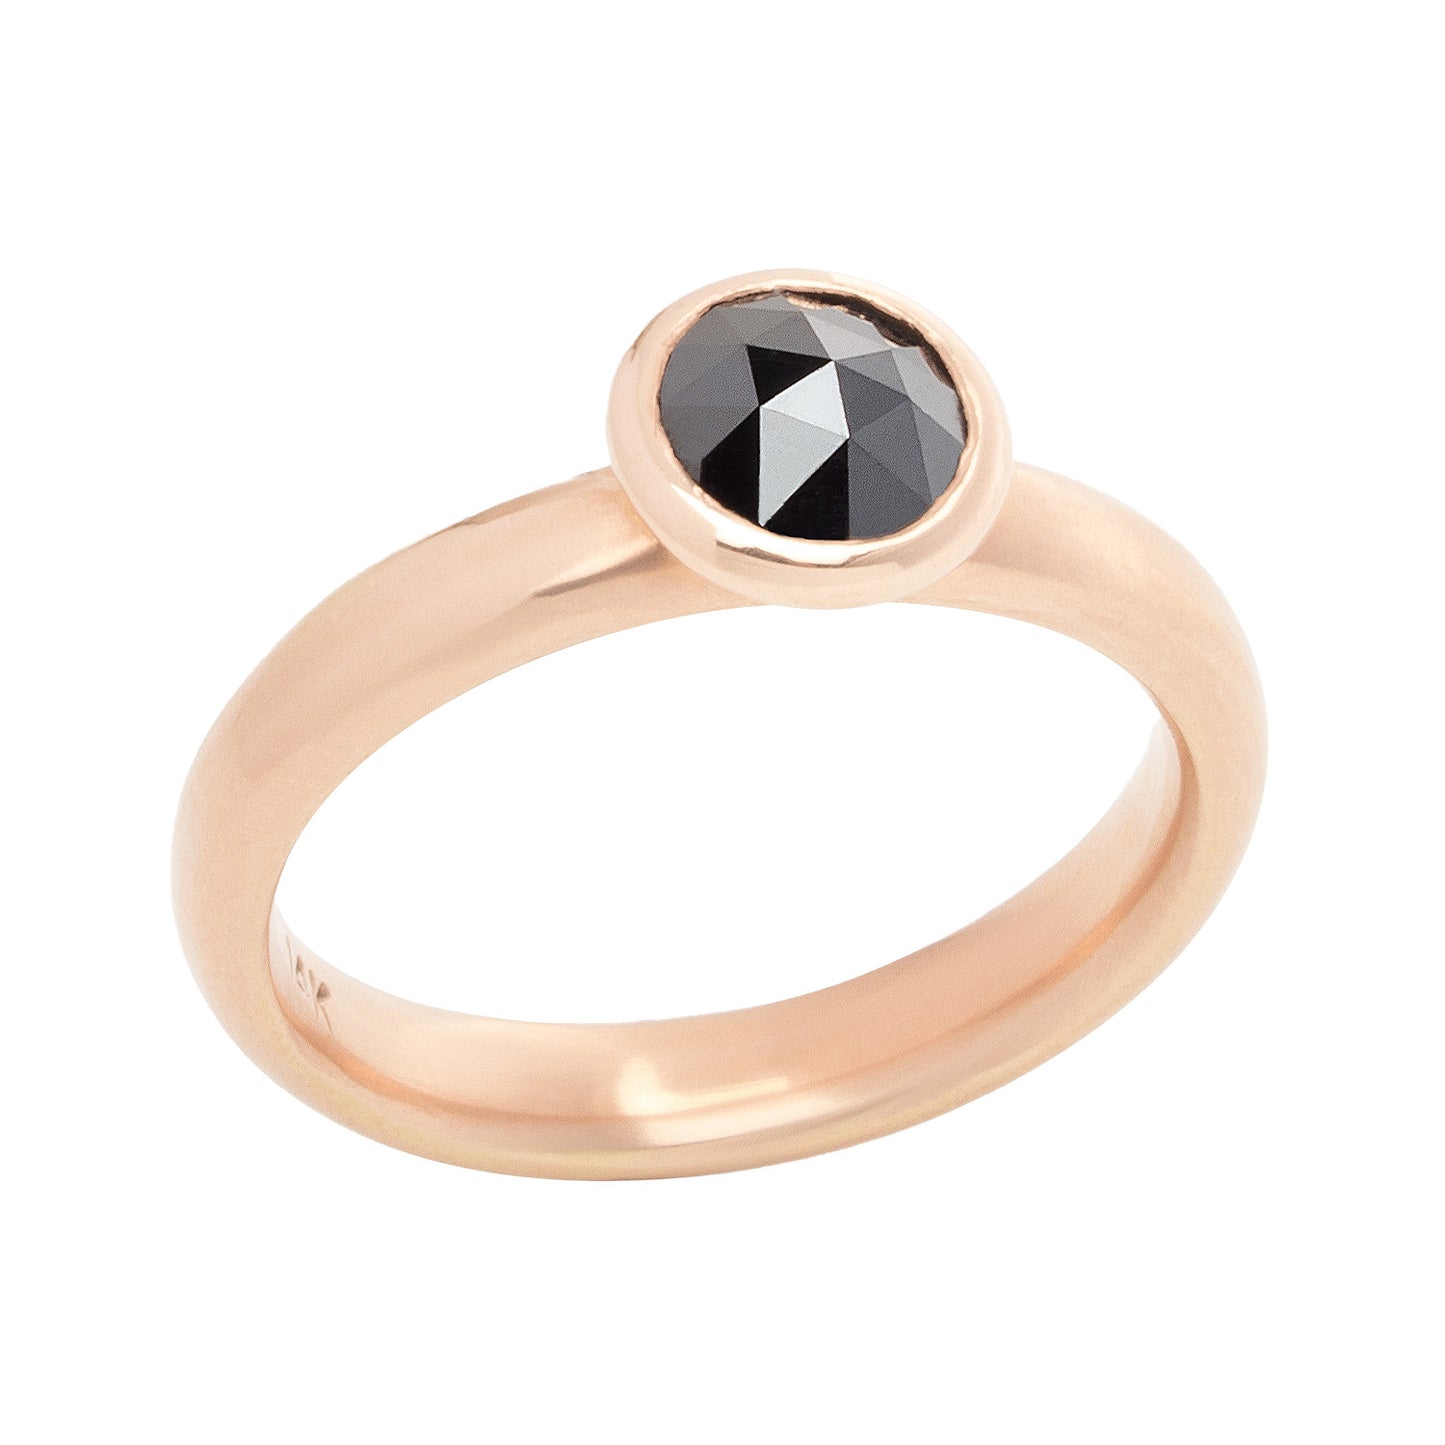
Alison - Rose
Alison - White
Alison - Yellow
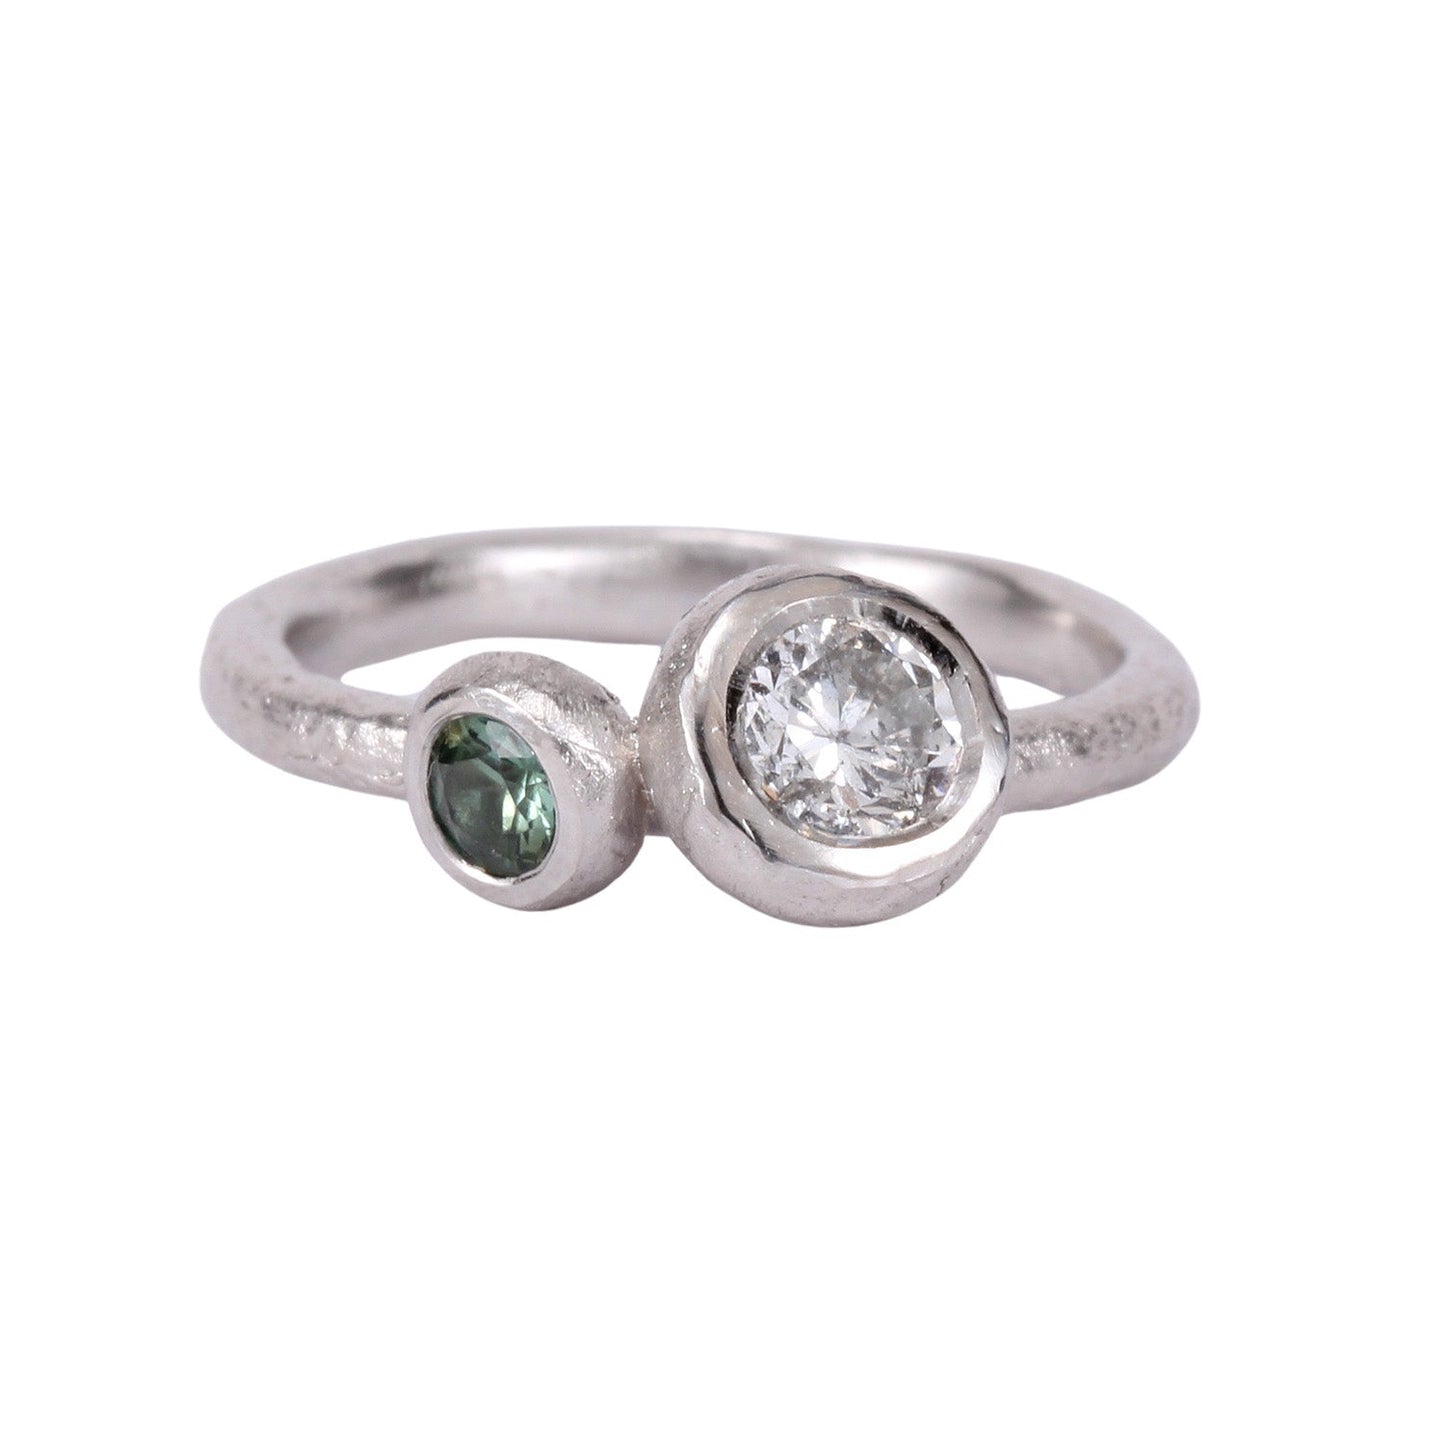
Amy
Anatole Earrings
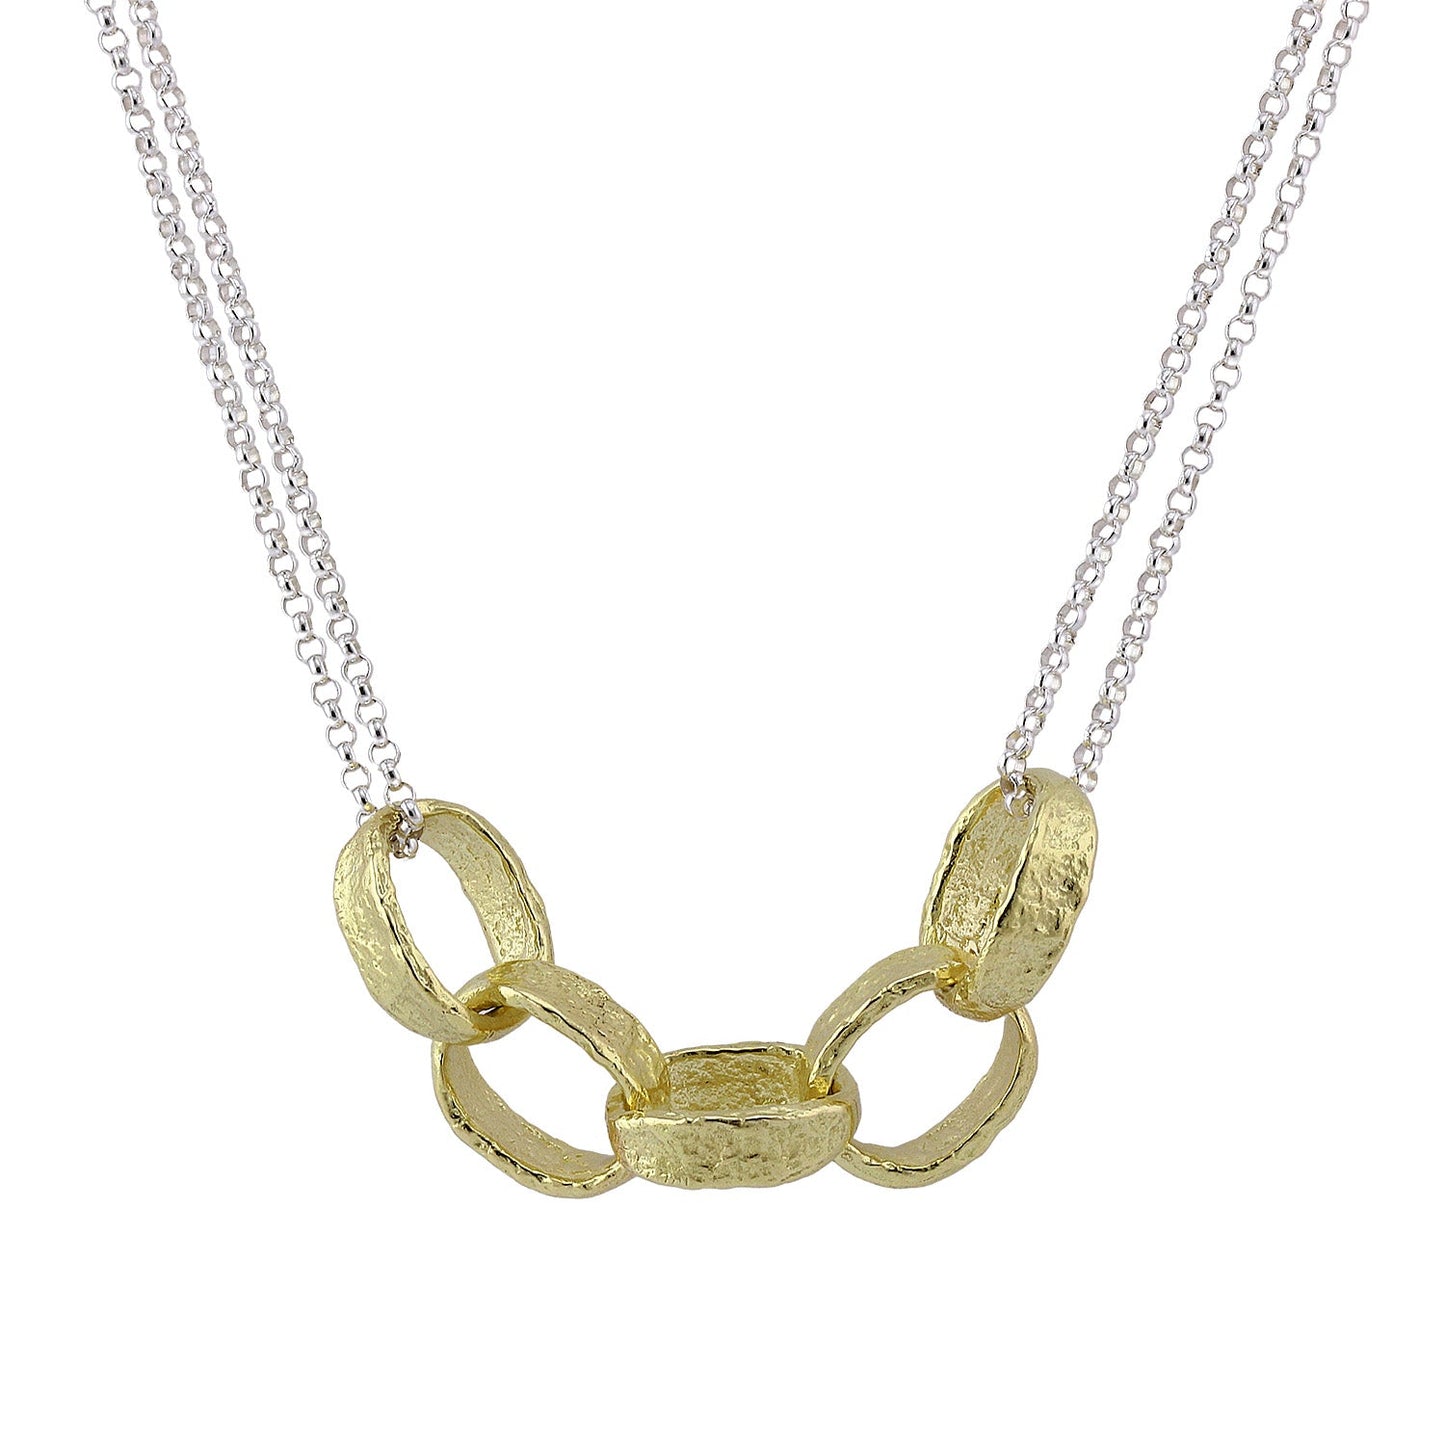
Anatole Neckace
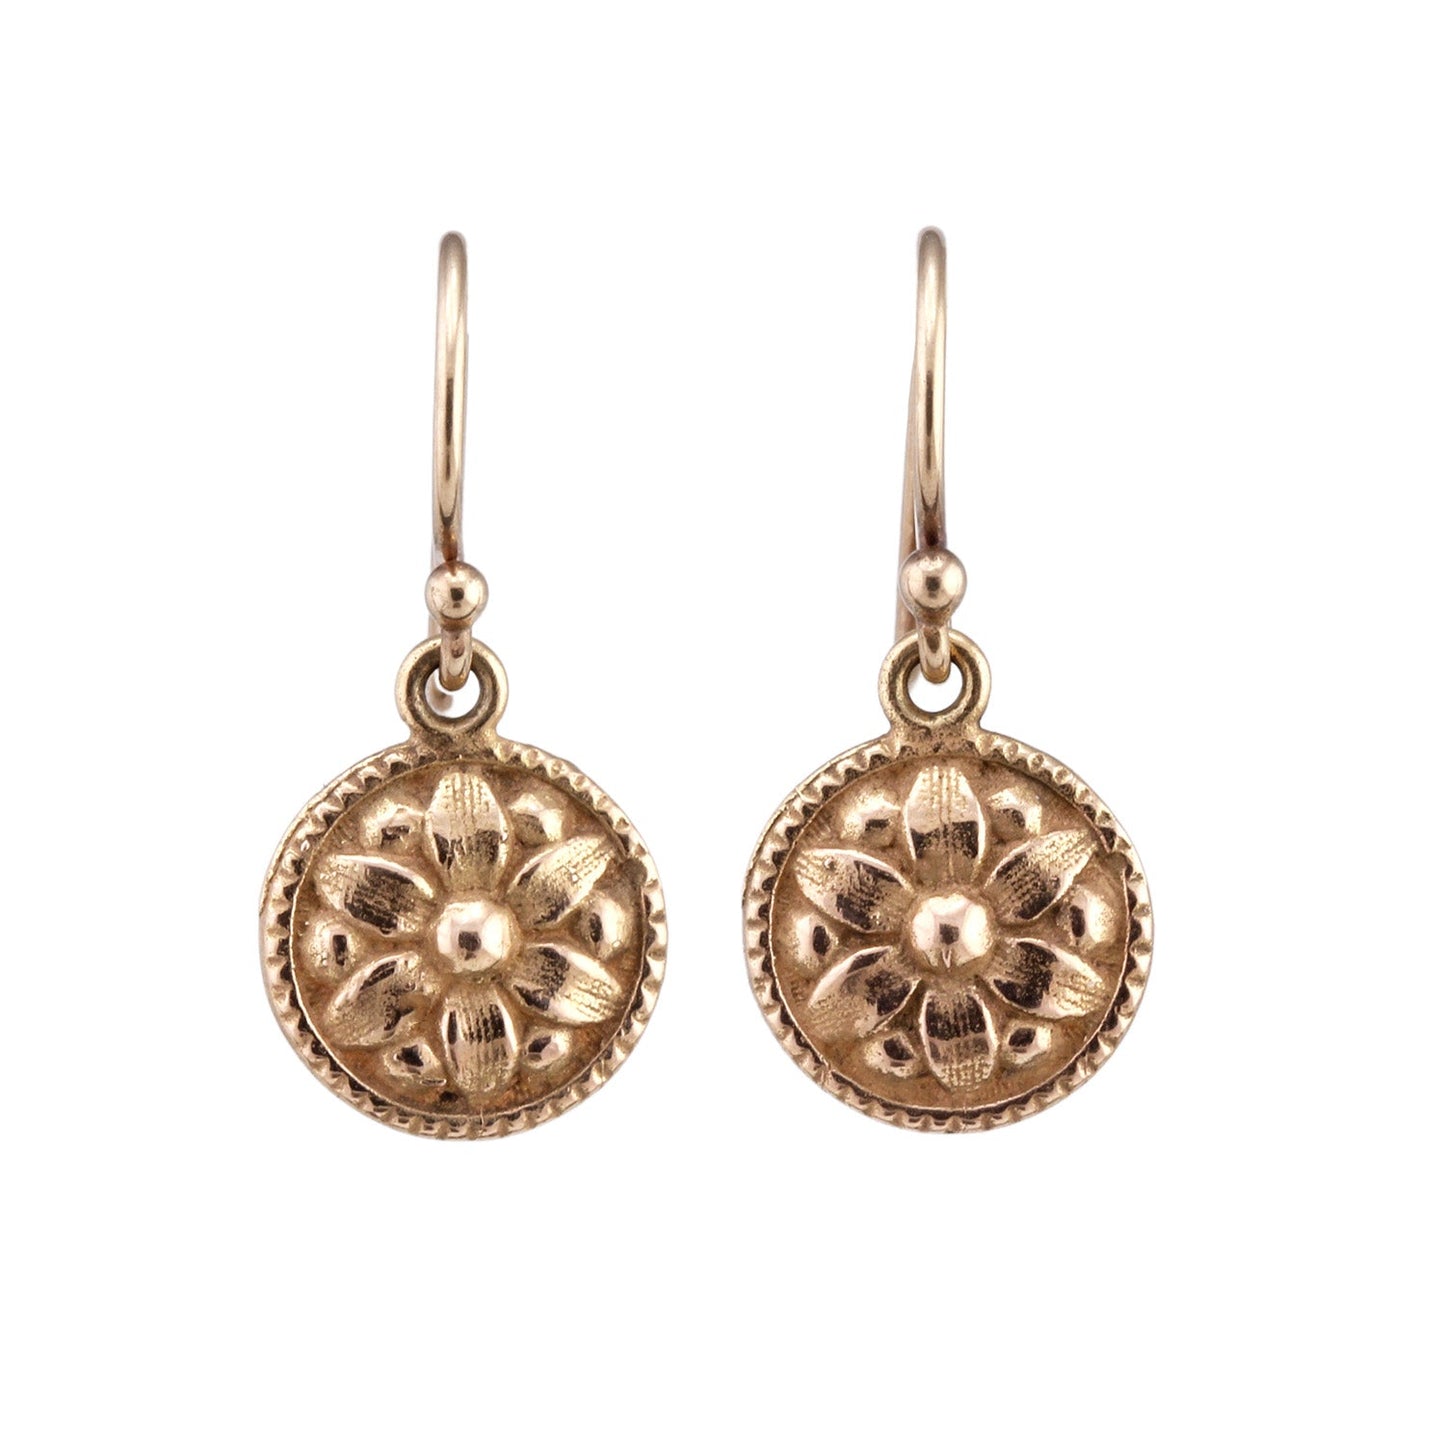
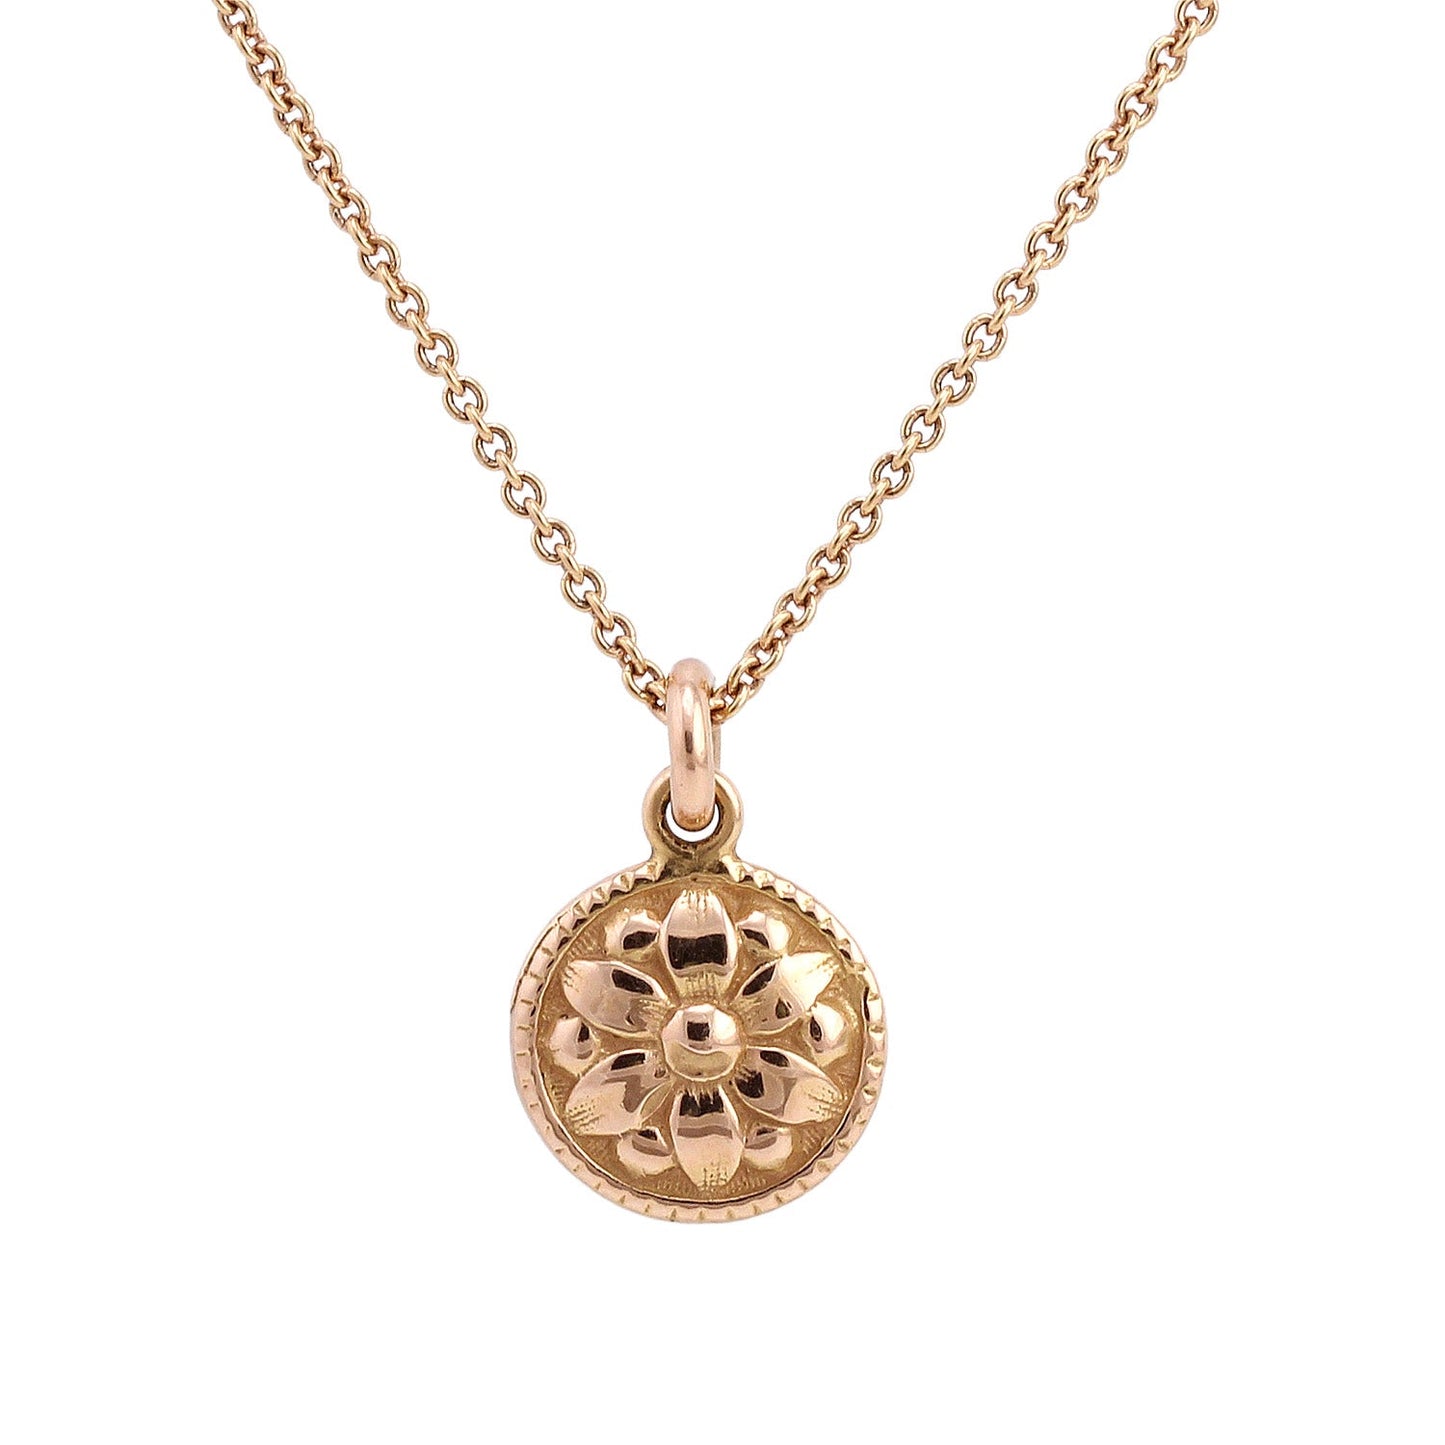
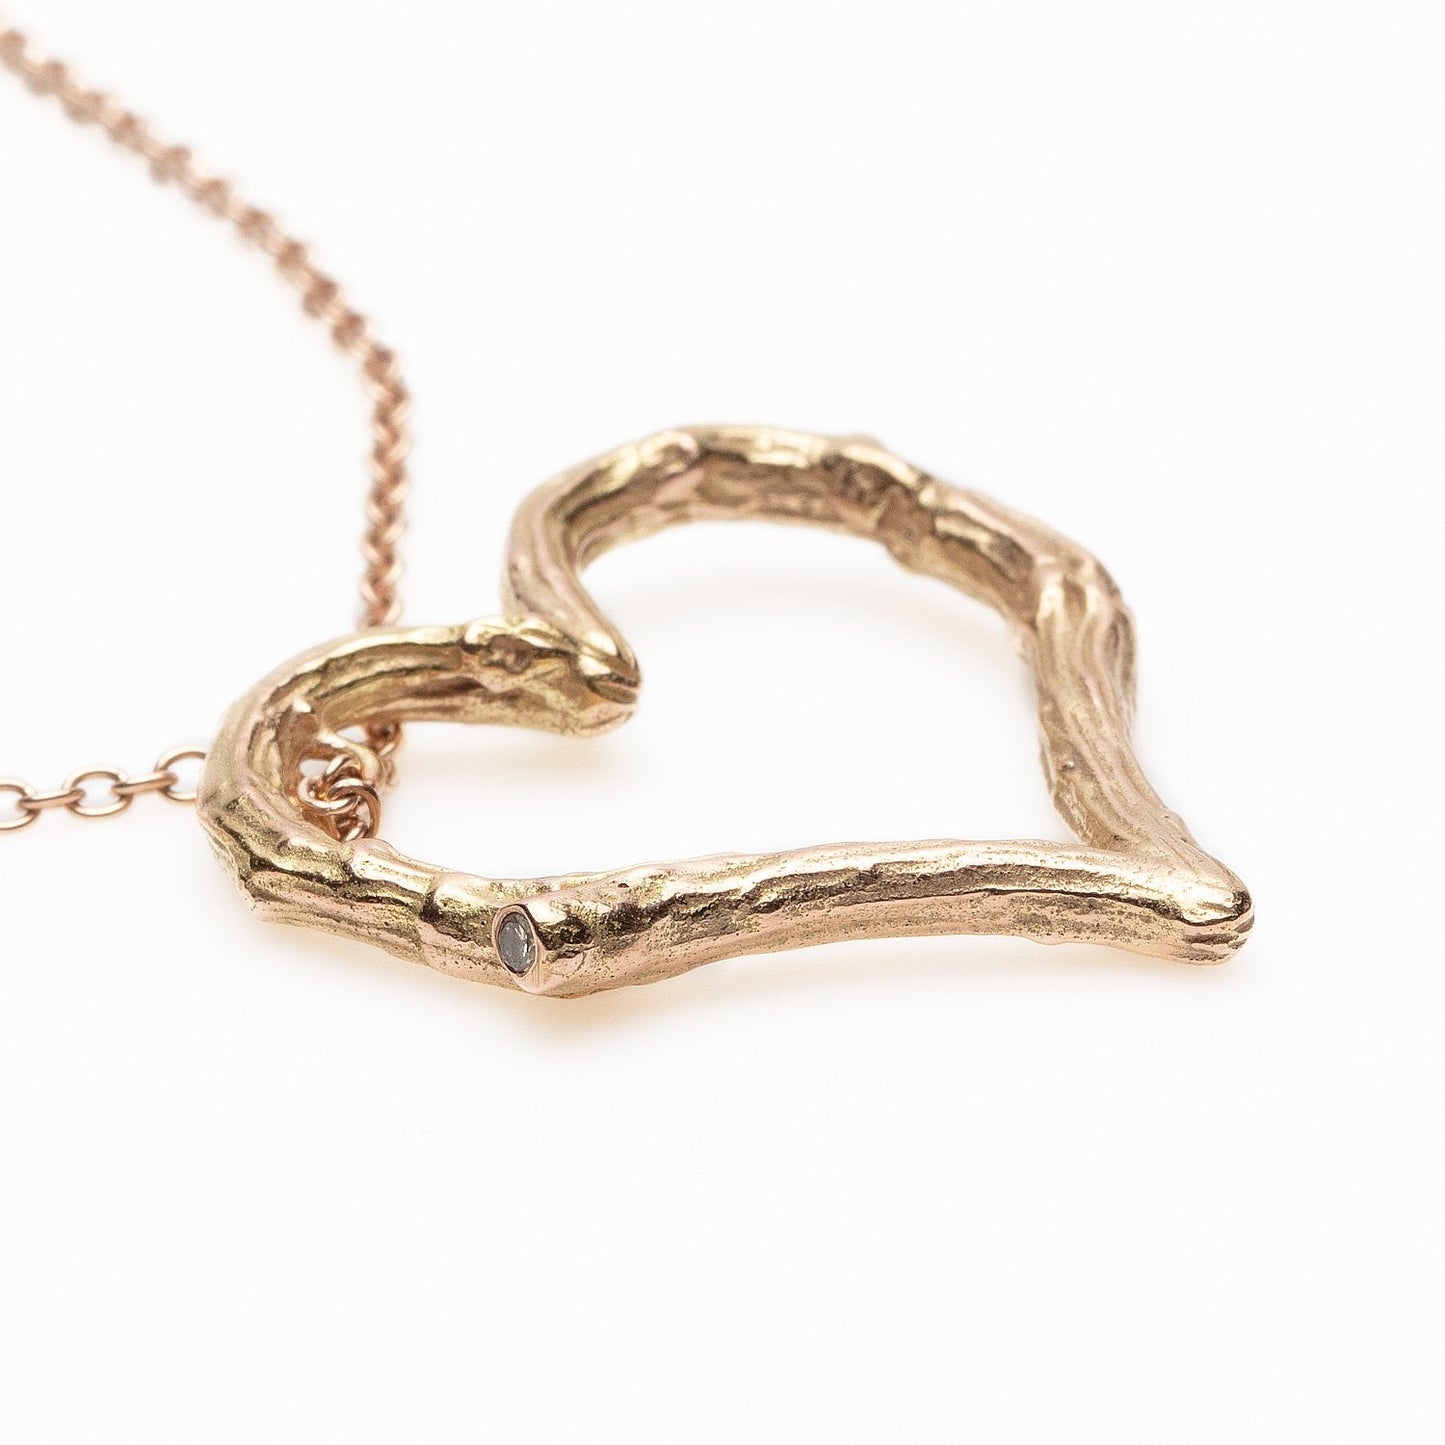
Ancient Flower
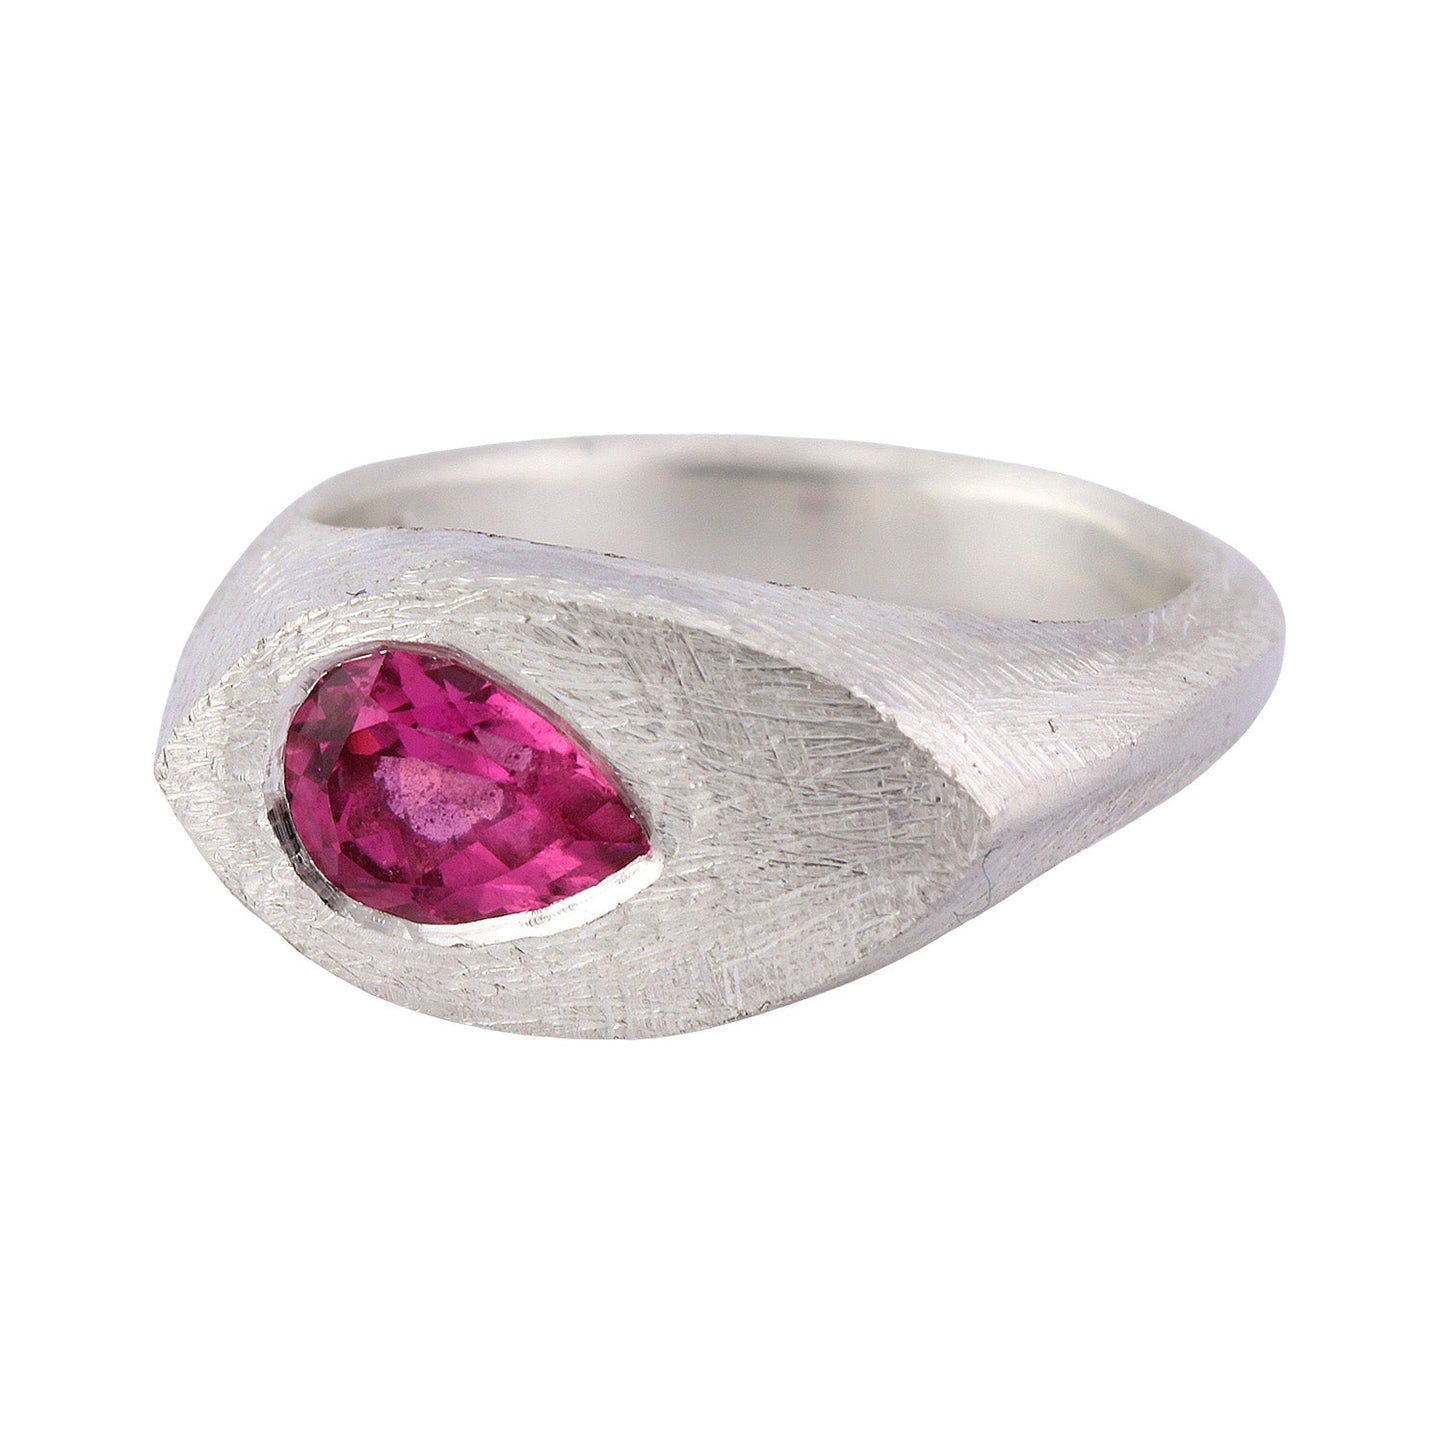
Annie
Beth
Betsy 5 Link
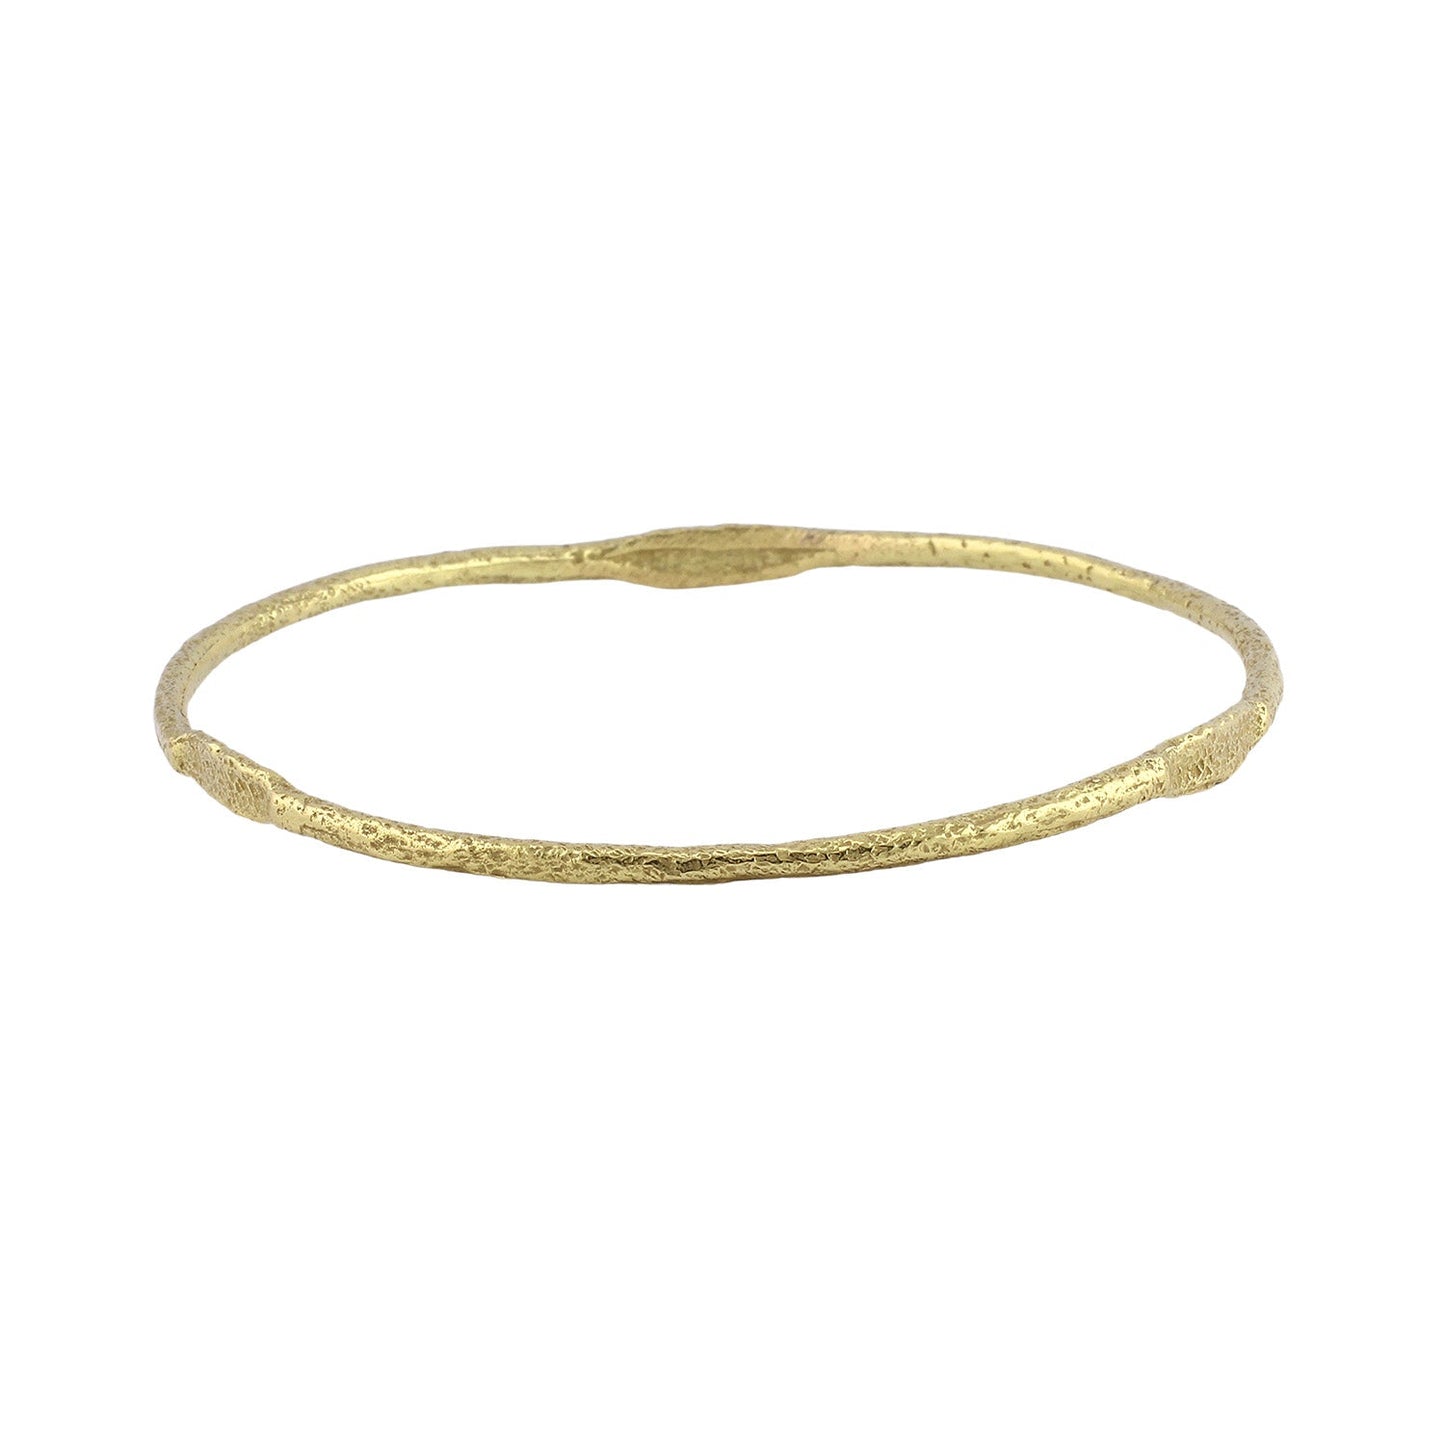
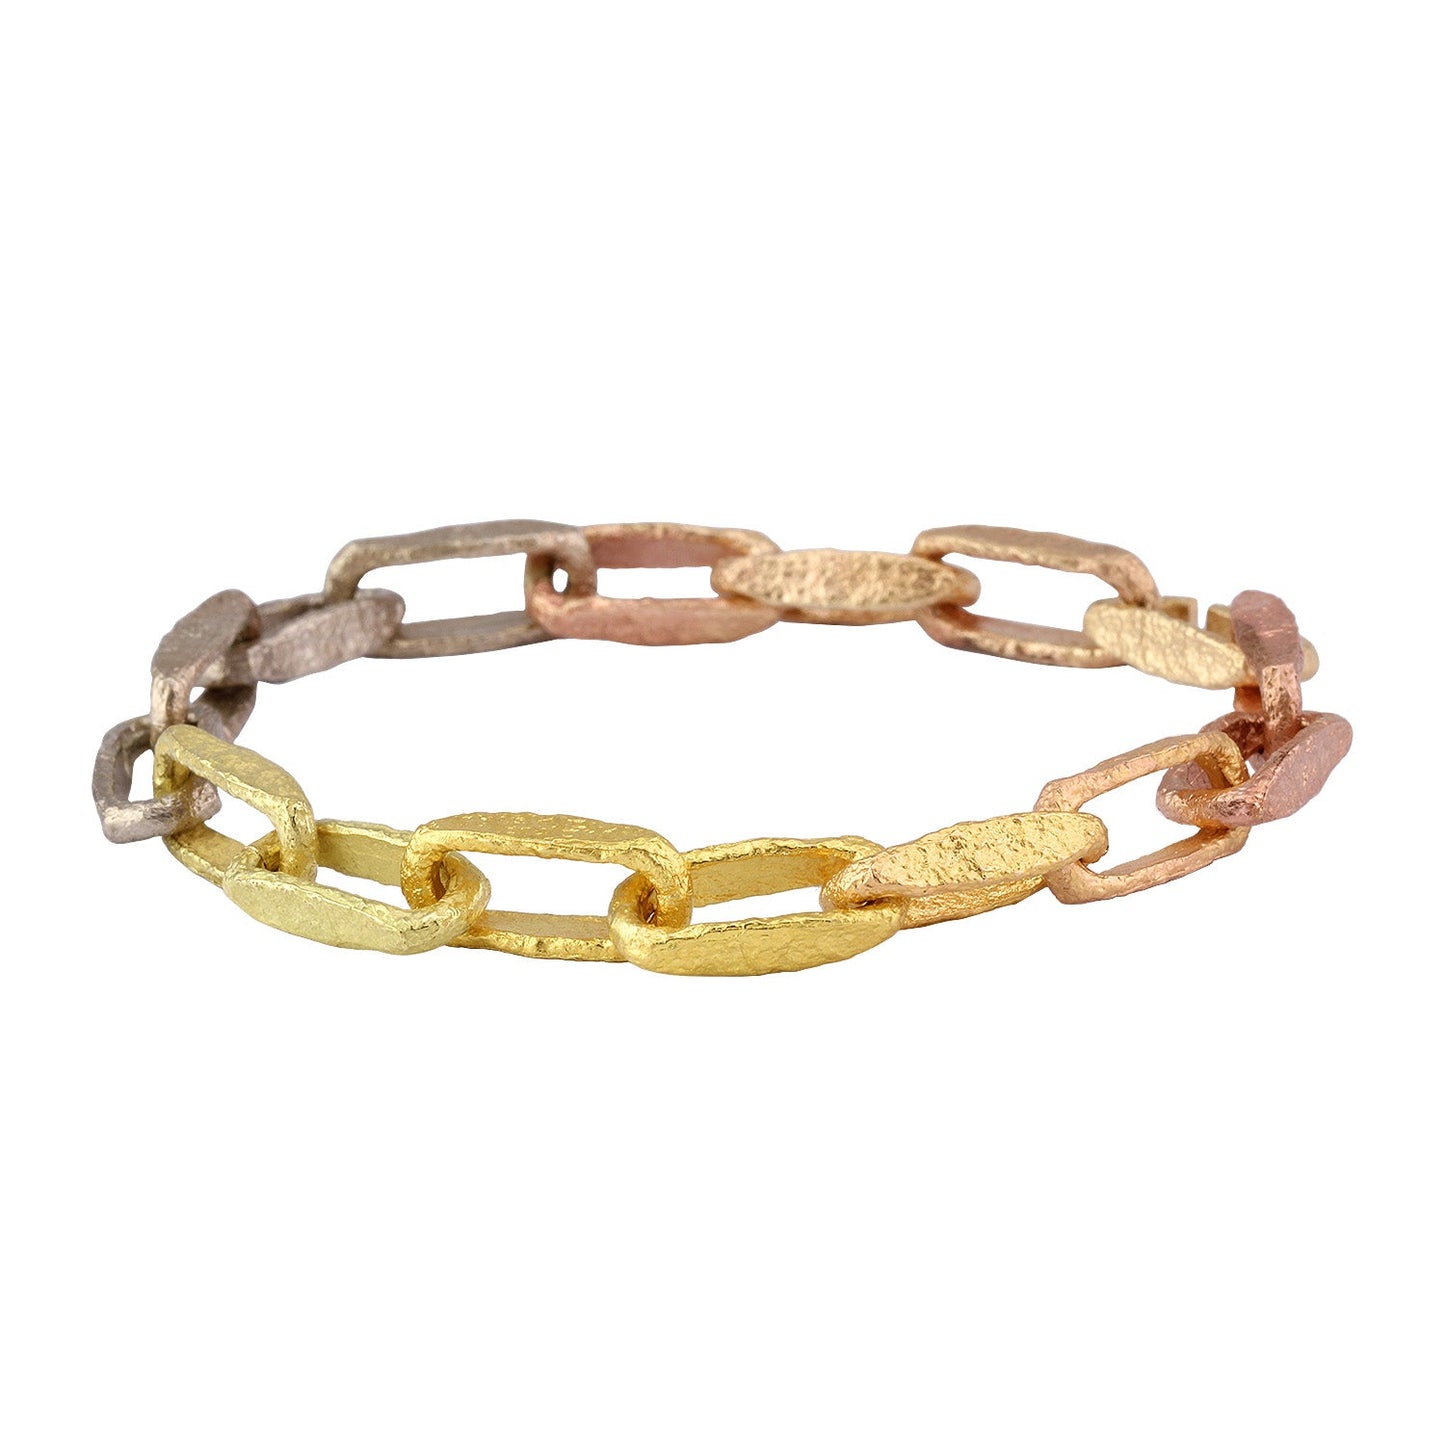
Bhangra Bangle
Charlie
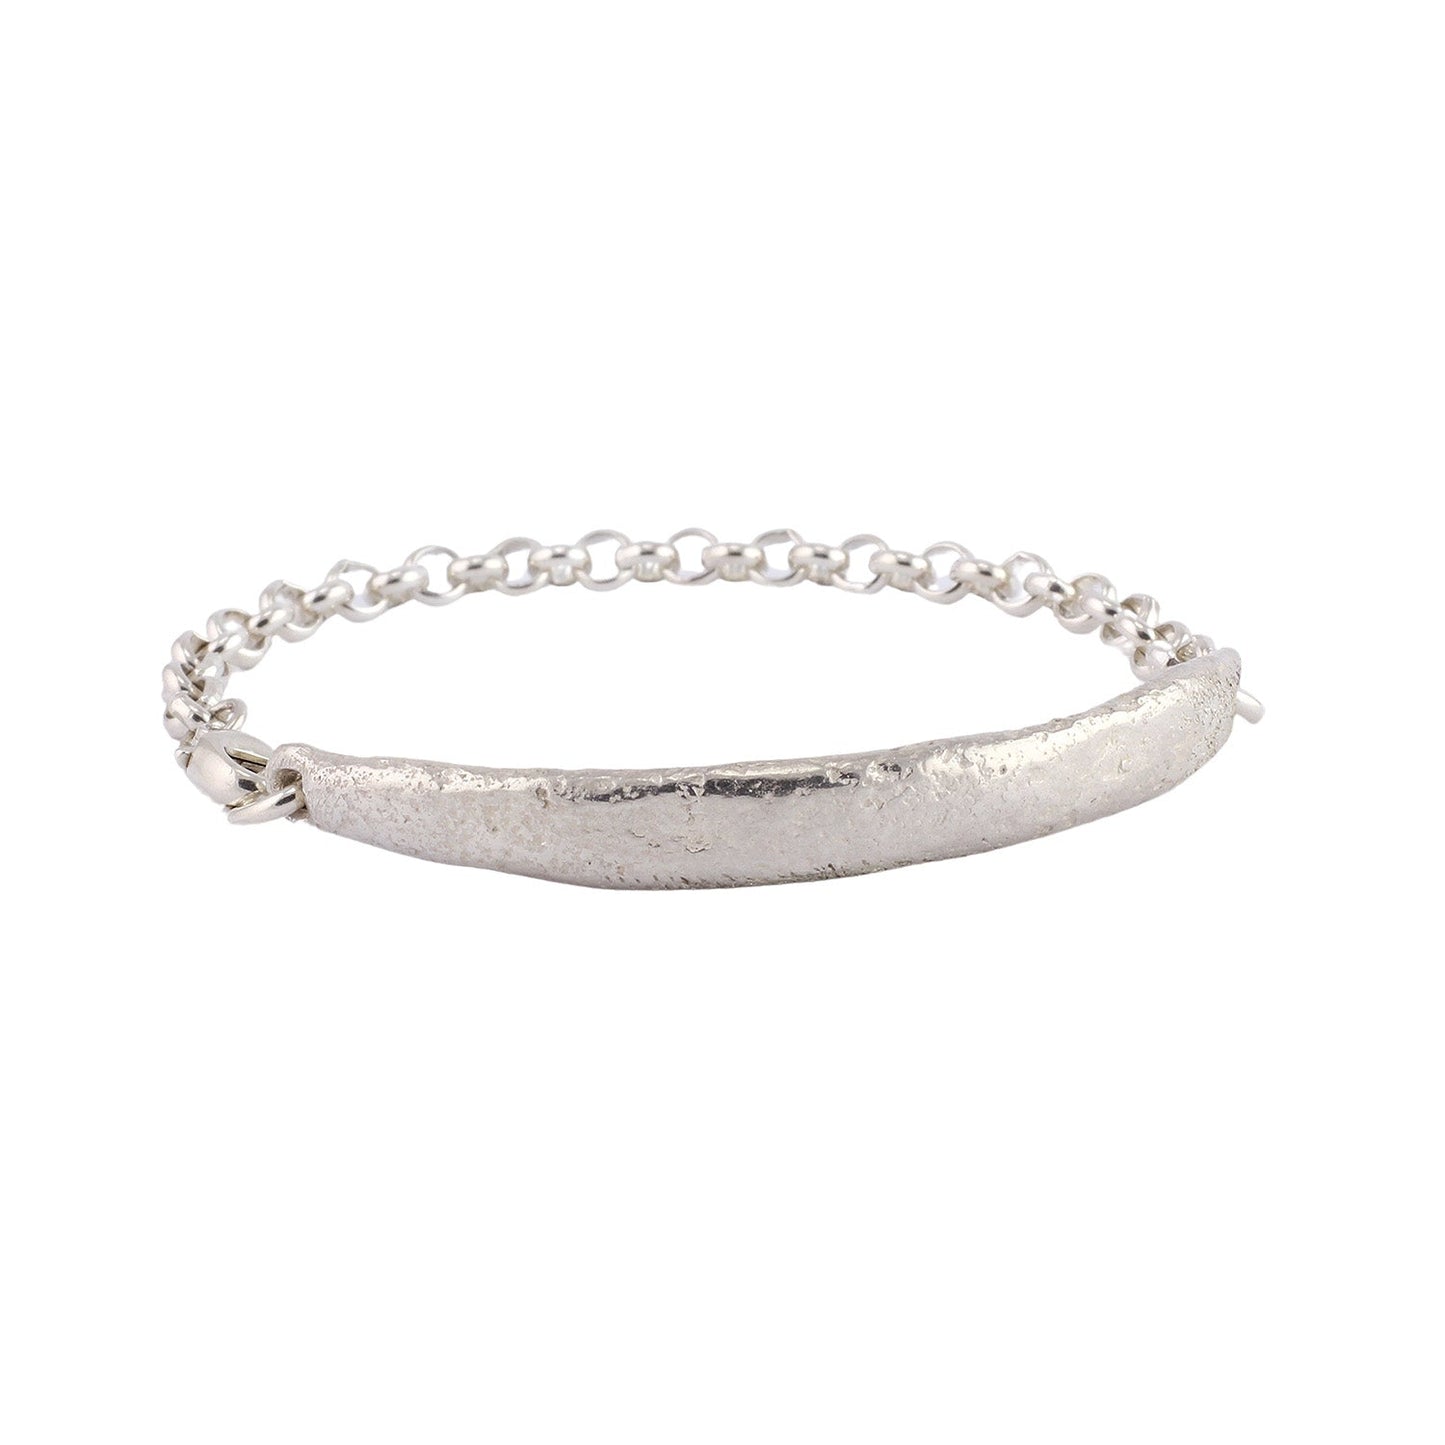
Classic Molten ID Bracelet
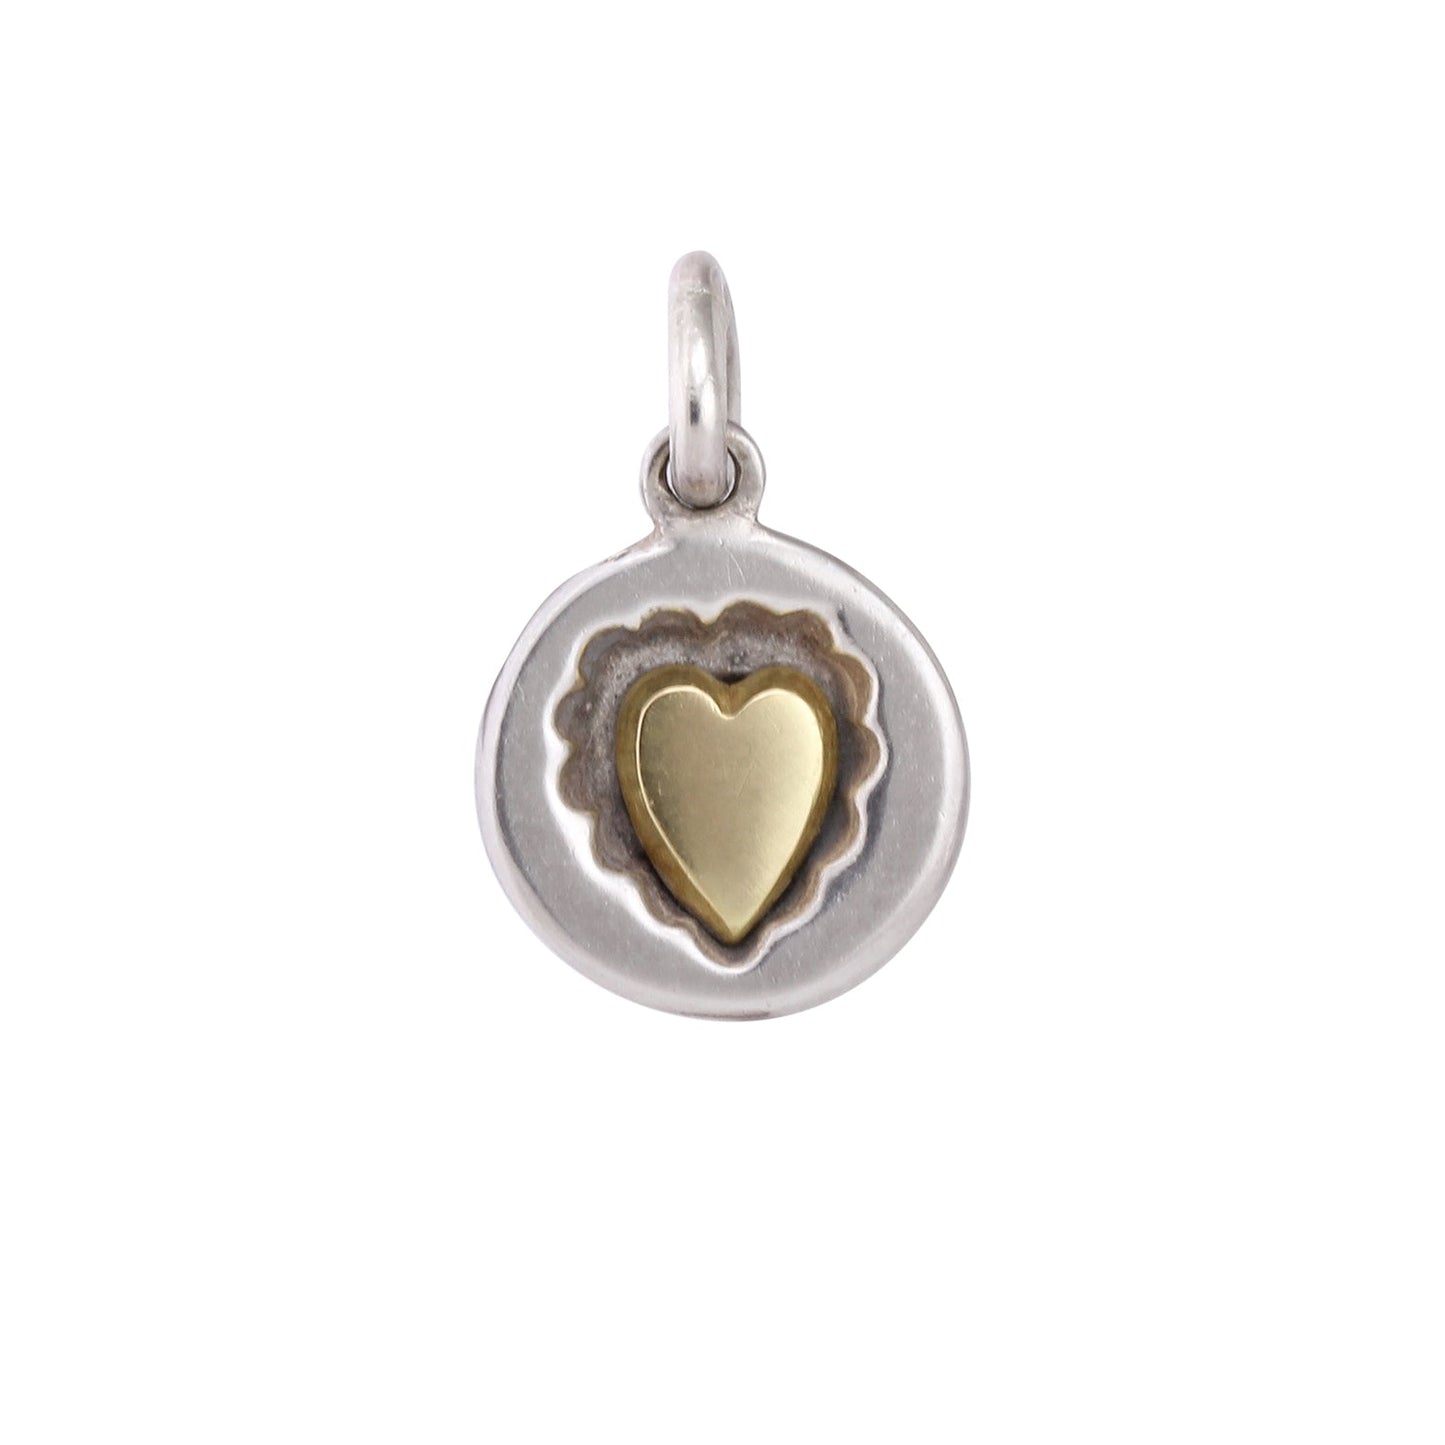
Cookie Cutter Heart Charm
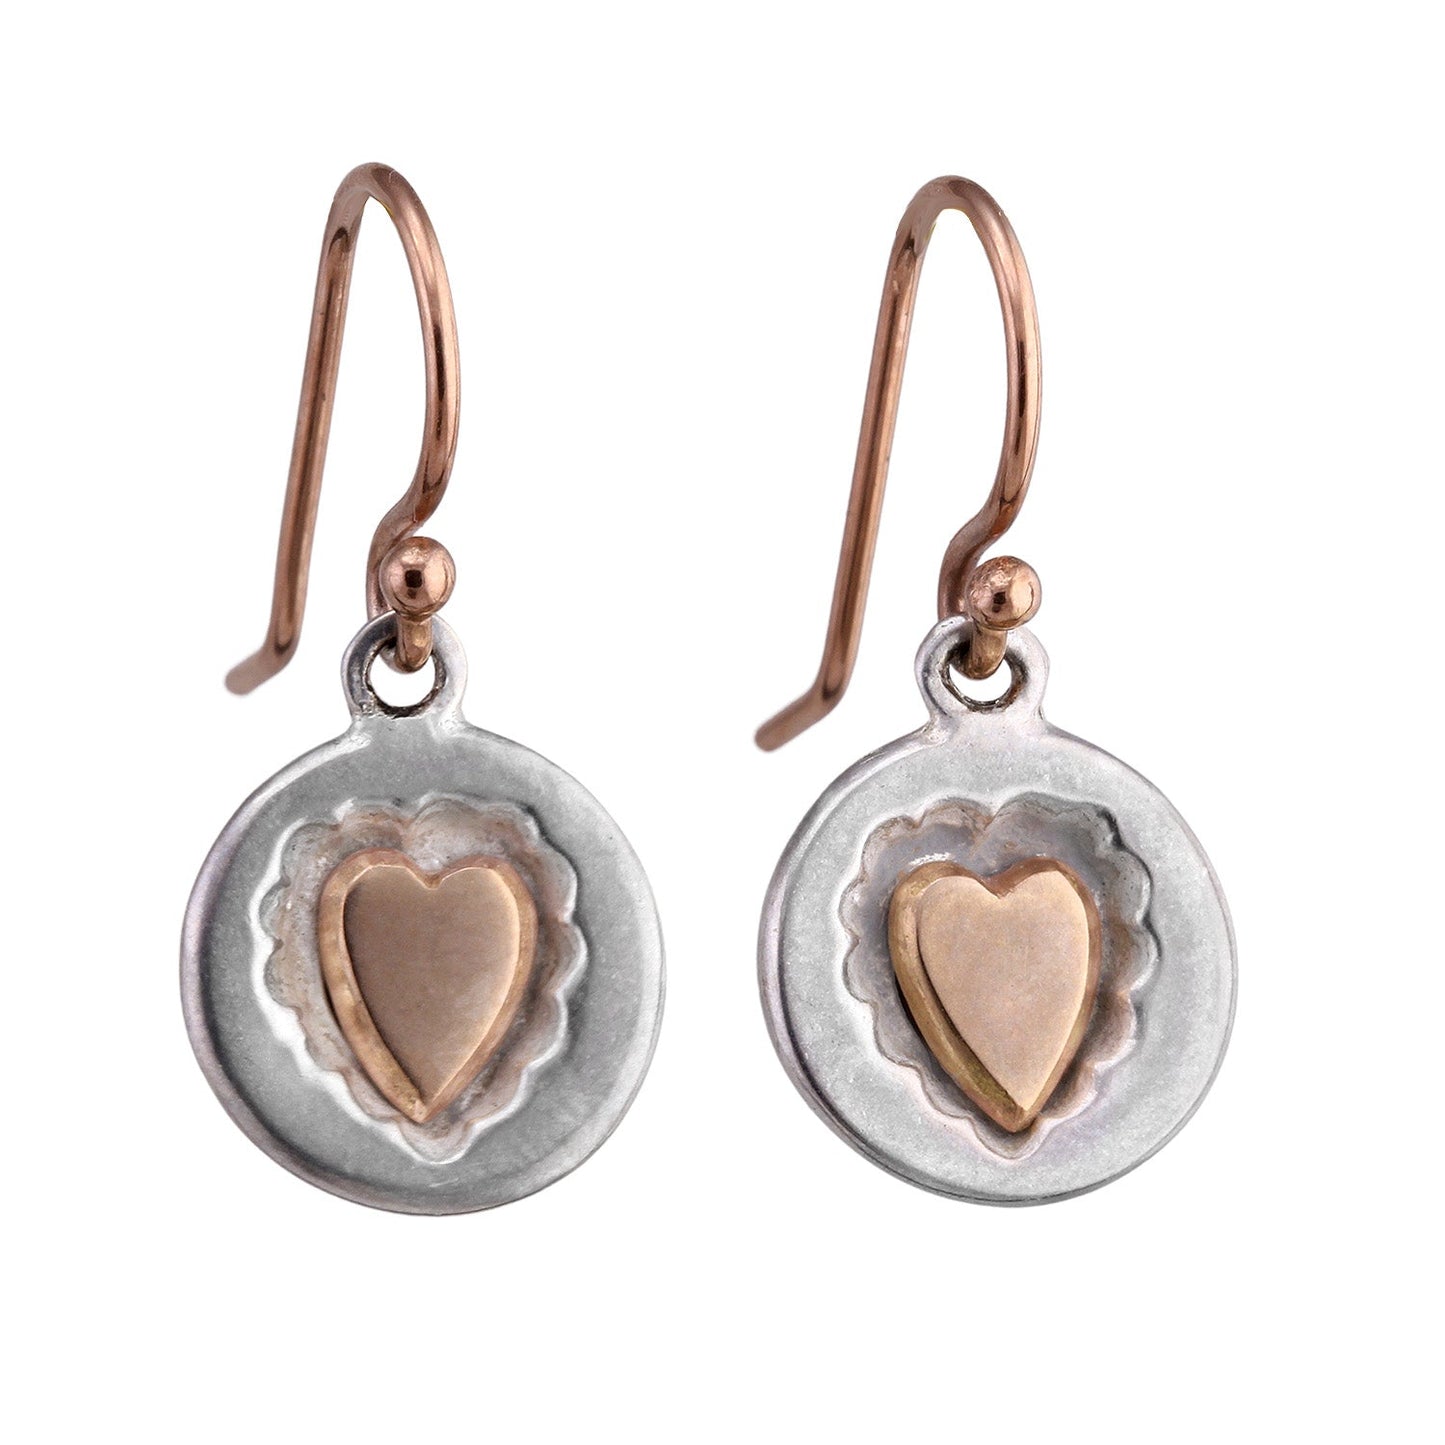
Cookie Cutter Heart Earrings - 14k Rose Gold
Daisy Drop Earring
Daisy Pendant
Deana
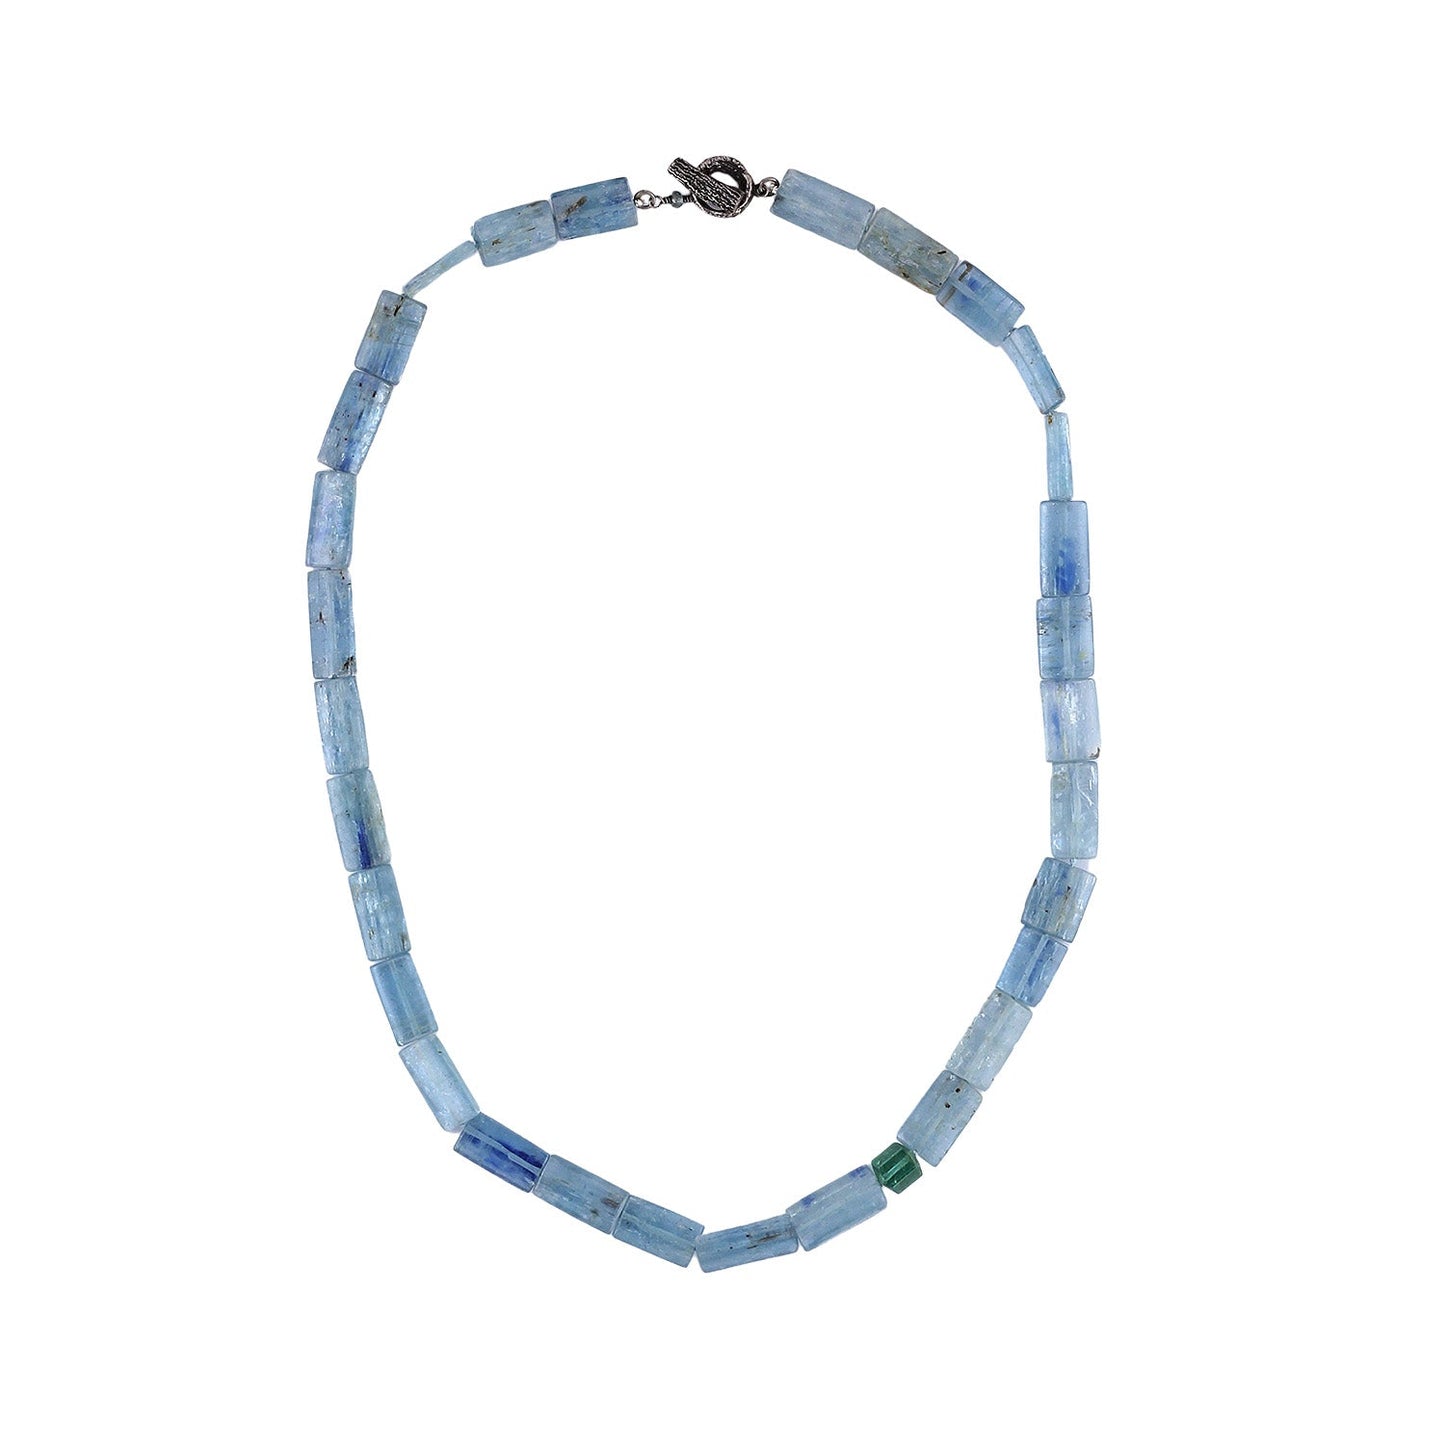
Denim Necklace
Denyse
Desmond Bracelet
Desmond Necklace
Devon
Diane
Eden
Elio - Rose
Load more
«
1
2
3
…
5
«
1
2
3
…
5